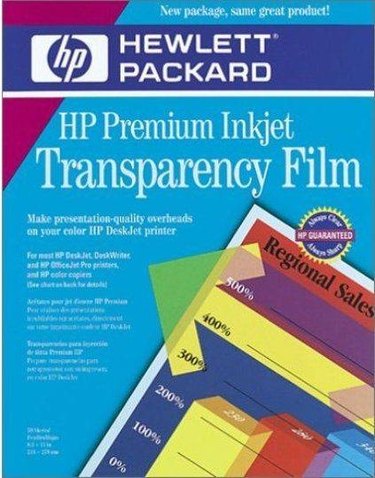
One of the innovative products sold in office supply stores are transparencies that can be used in the residential or noncommercial market. It used to be that transparencies could only be printed on laser printers. A process whereby an inkjet printer ink is enveloped by a coating during the drying makes this product available for many more applications. There are just a few tips that you need to know to print out a beautiful full-color transparency.
Step 1
Get your document ready. Since transparency paper is relatively expensive, make sure it is perfect before you print it. Do a trial run and print the document on regular paper and inspect it carefully to see if there are any errors.
Video of the Day
Step 2
Load the transparency paper into your printer. Most of the time only one side of the paper is coated for printing, and you need to make sure it is facing in the right direction or the ink will just smear. Look for the marking on your particular type of transparency paper and look for a white or yellow stripe or other marking signifying the right side for printing.
Step 3
Set your printer's setting so that it will print for a transparency. If your printer does not have the setting for transparency paper, choose the highest resolution and then "high quality photo paper." It should print slowly so that the ink has a chance to dry before the sheet is released.
Step 4
Allow the transparency paper to dry completely before handling it. After a minute or two it will be ready for your application.
Video of the Day