Airplane mode is an operating mode available on some laptops that allows the computer to operate without interfering with any of the important air traffic control frequencies. It disables the laptop from sending or receiving Wi-Fi, Bluetooth and any other wireless signals. If all else fails, airplane mode can be turned on in an emergency by simply removing the laptop's battery.
Step 1
Press the "Fn"+"F2" buttons on the keyboard to turn off wireless for Dell laptops D600 and D610. Press "Fn" + "F5" and then click "Turn On" to put IBM laptops T43 and X32 in airplane mode.
Video of the Day
Step 2
Press the "Airplane Mode" button on HP laptops. Look for the button either above the laptop's keyboard, along the left side near the USB port or on the front side.
Step 3
Press the switch located either on the left or right side of the laptop to put Toshiba laptops M1, M2 and R100 into airplane mode. The switch is located next to the volume control on Toshiba laptops TE2000 and Tecra 2100.
Step 4
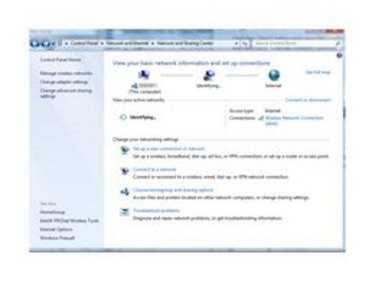
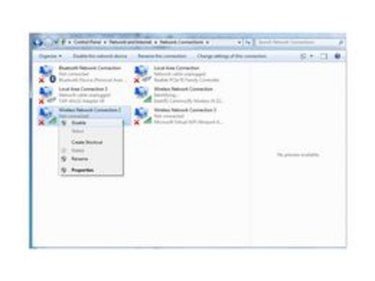
Click the "Start" button and open the Control Panel. Click "Network and Internet," and then click "Change Adapter Settings" on the left column.
Step 5
Right-click any wireless and Bluetooth connections and select "Disable" from the pop-up menu that appears. To re-enable wireless and Bluetooth, right-click again on each network and select "Enable."
Video of the Day

