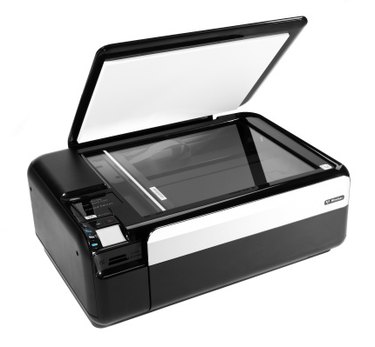
Most modern computer printers have the option of using photo paper. Photo paper is a high-quality paper that has been bleached for whiteness and specially coated with wax to prevent the ink from spreading. This type of paper is made for printing high-quality photos from your personal printer. You can buy photo paper at any place that regular printer paper is sold, or from the manufacture of your printer.
Step 1
Look at the instructions for your printer to see if there are any specific directions on how to load photo paper into your printer model.
Video of the Day
Step 2
Pull out the paper tray. Empty the tray of all paper. Load the photo paper into the empty tray as you would normal paper. Make sure the paper fits snugly in the tray. If the paper is too loose or cramped in the tray, move the tabs on the sides of the tray until they give the paper enough room.
Step 3
Replace the tray into the printer and hit the "Reset" button if applicable.
Step 4
Go to "Printer properties" in the control panel on your computer. Select the size of the paper you are using in the "Paper size" option box. In the "Paper type" option box, choose "Photo" or "High quality" from the list of options.
Step 5
Print photos and pictures from your printer as you would print on regular paper.
Video of the Day