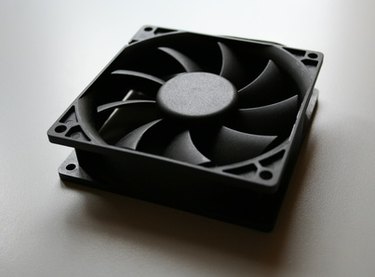
Just like any other computer component, CPU fans wear out over time. Whereas it may be possible to operate a computer without a CD-ROM drive or sound card, processors need a fan to avoid overheating. Installing a new fan takes only a few minutes, but first you must take out the old one. Avoid unnecessary confusion and damage to your computer by learning how to remove a Cooler Master CPU fan the proper way.
Step 1
Turn off the computer and unplug all cables from the system, including network and peripheral cords. Lay the system right-side down so that the CPU fan is easier to access.
Video of the Day
Step 2
Pull away the left side panel to access the inside of the PC. Some systems require you to remove a screw with a Phillips screwdriver or press down a latch to slide off the side cover. Touch a bare metal portion of the case to discharge static electricity from your body.
Step 3
Unplug the three-pin CPU fan from the white connector. You can find it near the middle of the motherboard next to the heat sink.
Step 4
Remove the Cooler Master fan from the top of the heat sink. Twist out the four screws on each corner of the fan with a Phillips screwdriver to release it.
Video of the Day