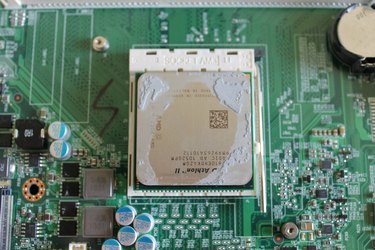
Some computer components, such as video cards and RAM, are directly accessible once you open the machine's case, allowing you to remove and replace them with very little effort. The central processing unit, however, sits underneath a heat sink and fan, making it more difficult to access. The CPU and CPU socket are particularly fragile, so handle them carefully and only remove the processor when absolutely necessary.
Step 1
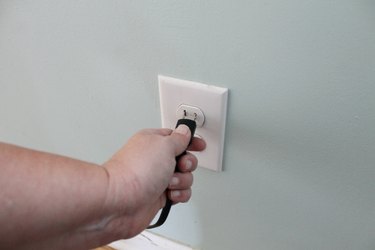
Turn off the computer, and then turn off the power supply unit's switch on the back of the case, if your computer has one. Unplug the computer from the power outlet.
Video of the Day
Step 2
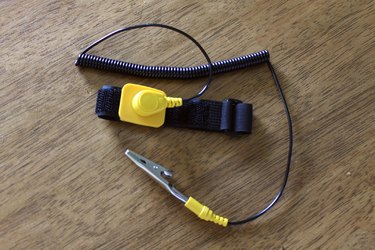
Wear an antistatic wristband or work on an antistatic mat if you have one. If not, take basic static precautions such as frequently touching a metal surface on the case as you work. Ideally, you should disconnect all cords from the computer and place it on a table where you can work standing up.
Step 3
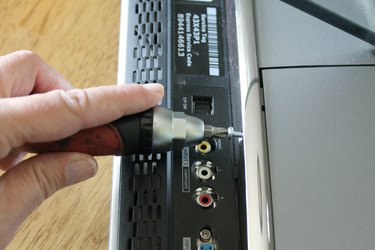
Open the computer's case. Every case opens differently, but many have two thumbscrews that hold the left side of the case on. If the removable side panel has a fan built in, unplug it from the motherboard in order to set the panel aside.
Step 4
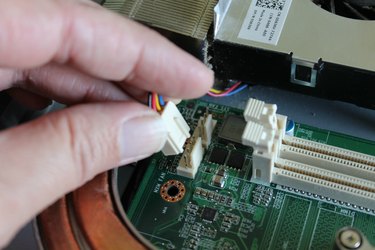
Locate the CPU's fan and unplug its power cable from the motherboard. Usually this will be the only fan located directly on the motherboard.
Step 5
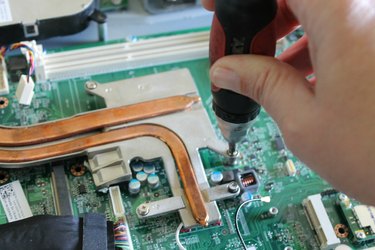
Turn the head of each of the "legs" surrounding the fan and heat sink to unlock it from the motherboard, and then pull each leg straight up to disconnect it. You might need a flat screwdriver to turn the legs. If your processor has screws instead of legs, simply unscrew them.
Step 6
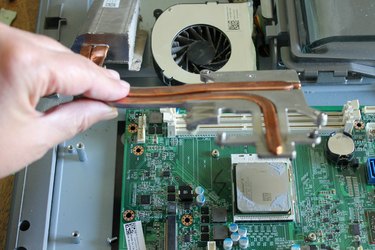
Gently wiggle the heat sink and fan while pulling upward on the entire device to remove it from the CPU.
Step 7
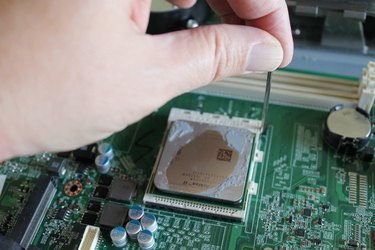
Remove the latch holding the processor and lift the retaining piece out of the way.
Step 8
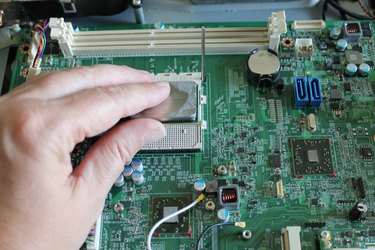
Lift the processor straight out of the socket, holding it by its edges. Do not try to slide the processor out or grip it from one end.
Step 9
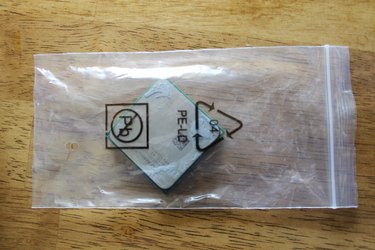
Place the CPU in a safe location if you plan to use it again. Ideally, return it to its original packaging or put it in an antistatic bag. If you are not installing a new CPU right away, replace the plastic socket cover on the motherboard to keep dust out of the socket.
Video of the Day