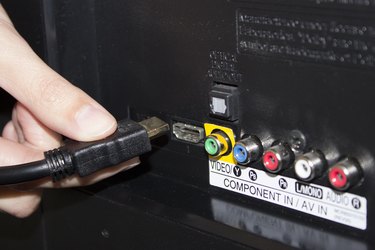
Though it's possible to repair a broken HDMI port on a television, it is extremely difficult and should not be attempted unless you are very comfortable with soldering tiny connections. If your television is under warranty, have the manufacturer repair or replace it for you. If your TV has more than one HDMI port, you can use an HDMI splitter to connect multiple inputs to the one port. However, if you are confident in your soldering skills, you can repair broken HDMI port, so long as the damage is only to the connector and not to the printed circuit board to which the port is soldered.
Step 1
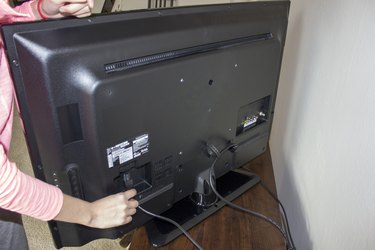
Unplug the television and set it on a flat work surface. Plasma TVs should not be subjected to angles greater than 45 degrees. You will need to work on them in an upright position. All other screen types should be laid down so you can have the best access to the HDMI port.
Video of the Day
Step 2
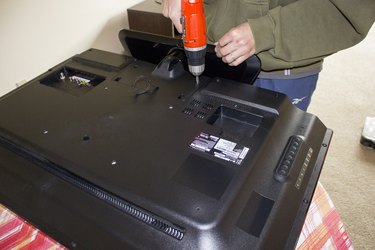
Remove the outer housing of the TV. Every set will be different, so take your time and be gentle. If the housing won't come off easily, look for screws that are holding it in place and remove them.
Step 3
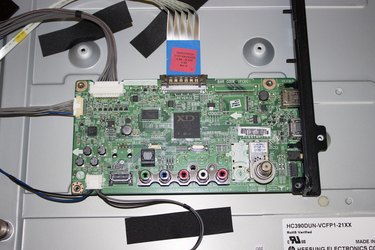
Examine the broken HDMI port. Look for broken connections between the port and the circuit board to which it's connected. If you can't see any breaks, use the continuity tester to check the circuits. Touch one probe to the pin location on the outside of the port and the other to the solder point on the circuit board that corresponds to that pin. Nineteen pins are on an HDMI port, though not all of them will necessarily be connected to the TV's circuits.
Step 4
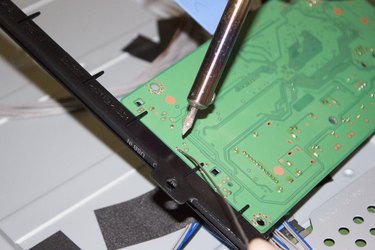
Re-solder a broken connection, if you find one. If the damage to the port is just a broken solder point or two, re-solder the original plug in place. When you're done, test the continuity again to ensure that the pins from the port connect to the circuit board correctly.
Step 5
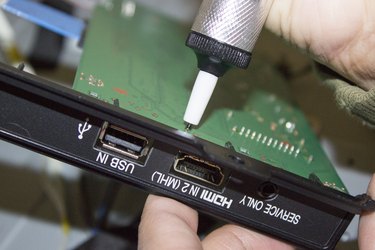
De-solder the broken HDMI port if the port is physically damage beyond repair. First, note the connection points on the circuit board. With the wide side of the HDMI port facing up and looking at the solder-side connections, pin number 1 is on the top left, pin 2 is on the bottom left and pin 3 second from the left on the top. The pins alternate top and bottom to the right so pin 18 is on the bottom right and pin 19 is on the top right. Heat the solder connections and then remove the melted solder with the de-soldering pump. Remove the damaged HDMI port.
Step 6
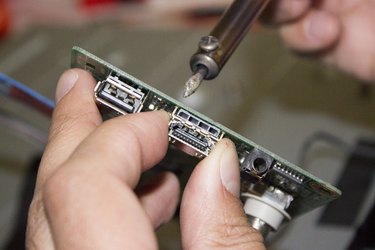
Solder the new HDMI port to the circuit board matching the pin connections from your notes.
Video of the Day