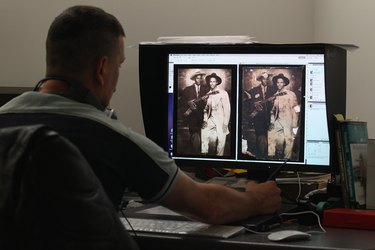
The Adobe Photoshop software offers a wealth of options for tinkering around with digital images. Consider the program an electronic toolbox, with virtual scissors, paste, magnifying glasses and other requirements for cutting and resizing your images. A benefit of doing these procedures in Photoshop is that you're not damaging hard-copy photos. Your images remain on-screen and archived until you print them out. Photoshop puts the power of changing your images into your hands. It can often be done with just a few quick clicks and a little bit of time.
Step 1
Open Photoshop, click "File" and select "Open." Select the photo you want to cut out and resize. Double-click the file so it opens in the Photoshop workspace.
Video of the Day
Step 2
Click the "Window" menu and select "Layers" to open the "Layers" palette. This palette may already be open in the bottom right corner of your screen. Notice there is only one layer right now, called "Background." It shows a mini version of your picture.
Step 3
Click the "Lasso" tool on the "Tools" palette. Draw an outline around the part of the image to cut out and resize. When you see blinking dotted lines surround the area, right-click inside the outline and select "Layer via Cut." Nothing changes on the photo, but if you look at the "Layers" palette, you'll see a new Layer 1 with just your cutout.
Step 4
Right-click the "Background" layer, select "Delete Layer" and click "Yes" at the warning window. You're left with just your cutout.
Step 5
Click the "Move" tool. It is the icon with a black arrow at the top of the "Tools" palette. Drag the cutout into the center of the checkerboard workspace.
Step 6
Click the "Edit" menu. Click "Transform" and select "Scale." A square surrounds your cutout with boxes on each corner. Click one of the boxes and pull the box towards the middle of the photo to shrink the image's size. Click one of the boxes and pull the box outward, toward one of the corners of the Photoshop screen. This will enlarge the image. Press the "Enter" key on the keyboard when satisfied with the object's size.
Step 7
Click the "File" menu, click "Save As" and type a new name for the image. Don't save it over the original version in case you want to access it again.
Video of the Day