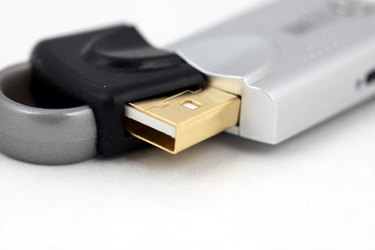
Saving pictures to a flash drive allows you to do multiple things, including making backup copies of your pictures, allowing you to easily transfer pictures to other computers and allowing you to easily carry them around with you. Saving pictures from your computer to a flash drive is a simple task with few steps and can be learned very quickly. The time it takes to transfer the pictures depends on the size and quality of each picture; smaller pictures take less time to transfer, while larger pictures take more time.
Step 1
Locate the pictures on your computer that you want to transfer to the flash drive. Once located, keep the folder containing the pictures open.
Video of the Day
Step 2
Insert your flash drive into a USB port on your computer and wait a few seconds for a window to pop up. You will either see a window with the contents of the flash drive come up or a window that lists different options for handling the flash drive's content.
If you see a window with the contents of your flash drive pop up (a folder), keep it open and continue on to the next step.
If you see a window that displays the list of options, look for the option similar to "Open Folder to View Files" and click it. This will open up a new window that displays the contents of the folder on your flash drive.
Step 3
Look back at the folder with your pictures in it. In this folder, click on pictures you want transferred to your flash drive, then drag them into the folder on your flash drive. Doing so will begin the transfer of the pictures from your computer to the flash drive. Hold down the "Ctrl" key on your keyboard while selecting pictures to select more than one picture to be transferred at a time.
Video of the Day