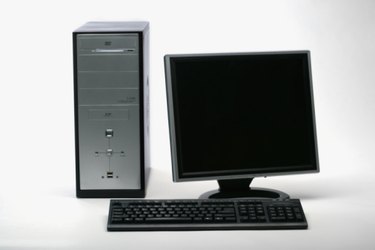
The AT&T U-Verse Total Home DVR is known for the substantial size of its internal hard drive, which can hold over 200 hours of video, and its ability to record up to four shows simultaneously. While U-verse may surpass other DVRs in recording capability, the ports on this machine are the same as those found on other DVRs. You can use these ports to connect the AT&T DVR to a computer and transfer videos to the computer's hard drive.
Step 1
Connect the AT&T U-Verse DVR to the computer. If you're using a digital video camera with pass-through capabilities, connect one end of the audio-video cords provided with the camera into the mini jack port on the camera, and the other end into the audio and video "Out" ports on the DVR. Then, connect the camera to the computer with the interface cord provided with the camera, and turn the camera to "VCR" mode. If you're using a digital video capture device, plug it into the audio-video "Outs" on the DVR, and connect the other end to a USB port on the computer.
Video of the Day
Step 2
Launch a video-editing software that can capture video. Movie Maker is the native Windows program, and iMovie is the native Mac program.
Step 3
Open the capture feature of the video-editing program. In Movie Maker, and most other programs, go to "File," and choose "Import video" or "Capture." In iMovie, toggle the blue switch at the bottom of the window to the camera icon.
Step 4
Name the video file you want to save when prompted. To select a folder to save to, click "Output" or "Destination," and find the folder in the window that opens.
Step 5
Play the video you want to transfer on the DVR. It displays in the preview screen in the video-editing application. Click "Start Capture" or "Start Import" to capture, and click "Stop Capture" or "Stop Import" when the program is finished. Press "Finish" when you are done capturing.
Video of the Day