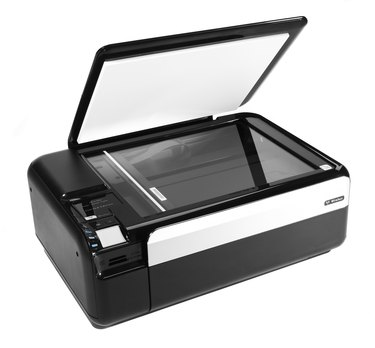
Epson printers come equipped with digital scanning capabilities far beyond the average scanner. Epson scanning devices have several different usage modes, components and editing functions to make sure you get the best duplicate resolution from your original documents. Operating these particular scanning devices usually require minimal technical experience. Basic device configuration and document set-up are the most important elements of scanning with an Epson printer.
Step 1
Place the original document you want to scan on the printer's automatic document feeder. (This is the clear surface under the printer's hardware cover.)
Video of the Day
Step 2
Open the Epson Printer portal on your computer. (Epson installs a print setup module on your computer with the installation of the device's software drivers.)
Step 3
Click the drop-down bar below the "Mode" setting to select what type of document scan you want to conduct.
Step 4
Choose a scanning mode based on the three options available for Epson printers. (See Tips for scan mode suggestions.)
Step 5
Click the radio button next to the color mode you want for the document. Three options, "Color," "GrayScale," and "Black and White" will be available.
Step 6
Select the ADF action to indicate the document is placed in the Automatic Document Feeder (ADF) for scanning. This will direct the printer to the document.
Step 7
Click the drop-down bar below the "Scanning Resolution" settings and select the resolution that best fits your particular document.
Step 8
Click on the "Scan" at the bottom of the scan settings to send the action to the Epson printer. The scanned document will appear in a new preview window on your computer screen once the scan is complete.
Video of the Day