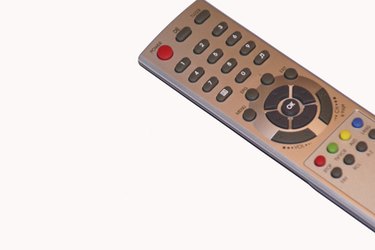
Programming your TV isn't magic, but you do have a magic wand of sorts. Use the menu function on your remote to manage TV audio and video setup options. Remotes use infrared light to access and control your TV. The first remotes were manufactured by Zenith Electronics Corp., and operated with ultra-high-frequency sound. By the 1980s, remotes employed infrared light.
Step 1
Turn on the TV and push the "Menu" button. The menu offers options for programming the type of broadcast signal that is received, channel setup, and audio and video properties.
Video of the Day
Step 2
Press the "Volume +" button on the remote to advance through the menu screens until you see a screen with options for selecting "Cable" or "Air" broadcast and channel "Auto Scan." The "Channel +" and "Channel -" buttons allow you to navigate up and down the menu options on each screen.
Step 3
Press the "Channel -" button to go to the menu item labeled "Tuner." Press the "Volume +" button to select "Cable" or "Air" depending upon whether or not you have cable or over-the-air broadcast television reception. Press "Menu" to exit.
Step 4
Press the "Menu" button to open the onscreen menu and press the "Volume +" button to navigate to the menu with the "Auto Scan" option.
Step 5
Press the "Volume +" button to start the "Auto Scan" function. This causes the television tuner to search for available channels. For channels broadcast over the air, the tuner first searches for analog signals and then digital broadcast signals.
Video of the Day