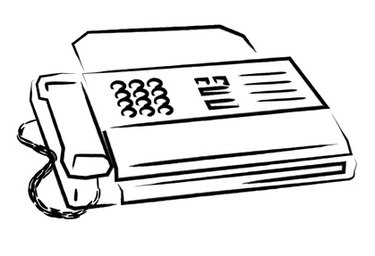
The Brother Intellifax 4100E is a business-class laser fax machine. A transmission verification page can be set up with a variety of options. The OFF option is used to only print a confirmation page when an error occurs. The ON option is used to print a confirmation page every time a fax is sent. There is also an option to print an image, which is the top of the fax, on the confirmation page. The image option is helpful for users that send multiple faxes to the same phone number or company.
Step 1
Turn on the fax machine.
Video of the Day
Step 2
Press "Menu."
Step 3
Press options "2," "4" and finally "1" for the Transmission Verification Report.
Step 4
Press the left or right arrow buttons to toggle between the OFF, OFF + Image, ON or ON + Image options. To print a verification report every time a fax is sent, select the "ON" or "ON + Image" option. To print a confirmation page only when an error occurs, select the "OFF" or "OFF + Image" option.
Step 5
Press "Set."
Step 6
Press "Stop/Exit" to leave this screen.
Video of the Day