D-Link Wireless routers have a convenient Setup Wizard to walk you through the router configuration. To set up a D-Link router, you connect the router to your modem, connect a computer to the network and run the Setup Wizard. The process differs slightly depending on the type of network connection you use.
Attach the Router to Your Modem
Video of the Day
Step 1: Attach the Power Adapter to the Router
A power adapter came packaged with the router. Connect the adapter to the router and to your wall outlet or power strip.
Video of the Day
Step 2: Connect the Ethernet Cable
Run the Ethernet cable from the modem to the WAN port on the router. This port is often colored yellow to distinguish it from outgoing Ethernet ports, but on the D-Link 524 and D-Link 624 the WAN port is black.
If you are using a D-Link DSL 2640T, it has a built-in DSL modem. Instead of connecting the device to another modem with an Ethernet cable, you should connect a phone cord from a phone jack to the DSL port on the back of the D-Link 2640T.
Wait for the Power and WAN status lights to come on. This should take only a few seconds.
Connect Your Computer to the Router
Wired Connection
Connect an Ethernet cord to the Ethernet port on your computer and to one of the Ethernet ports on the D-Link. You can use any of the Ethernet ports on the router except for the WAN port, which should be connected to your modem.
Wireless Connection

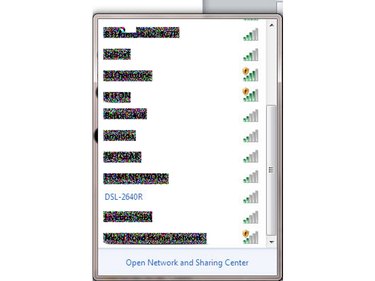
Step 1: View List of Available Networks
Click on Network icon on the System Tray.
Step 2: Select Network
Click on the name of the network associated with the router. This is written on the configuration card packaged with the router. By default, it is dlink- followed by a short string of digits.
Step 3: Enter Network Password
Enter a password or network key. This is the password written on the configuration card.
Step 4: Connect to Network
Click Connect to join the network.
Configure the Router
Step 1: Access the Router Settings
Open a Web browser and type the router's IP address into the address bar. The IP address is 192.168.0.1 for the D-Link 524 and 624. For many models, including the 2604T, the address is 192.168.1.1.
Step 2: Enter Username and Password
Enter a username and password and press OK.. Unless stated otherwise on the instructions that came packaged with the router, the username is admin. For the AirPlus Xtreme, including the 524 and 624 models, the password should be left blank. For the 2640T, the password is admin. For some D-Link models the password is password.
Step 3: Run Setup Wizard
Start the Setup Wizard to configure your router. Click Run Wizard or Next. The router automatically selects most settings based on common defaults for your connection type. It then asks you a series of questions to further configure the router.
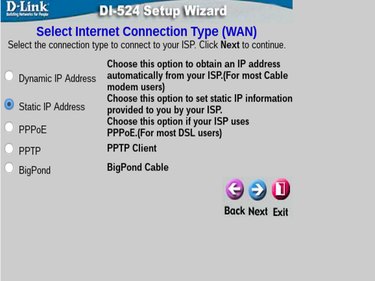
Step 4: Select Your Connection Type

Select the radial button next to your connection type. Most cable modem users should select DHCP unless you are know that your provider requires a static IP address, in which case you should select Static.
Most DSL and ADSL users should select PPPoE. If you select PPPoE, you are prompted for your username and password. Enter the PPPoE username and password provided by your Internet Service Provider. Click Next to continue.
Step 5: Change Your Network Name and Password
Enter a new network name and password for your local wireless network. The network name should be memorable. The network password should be a combination of letters, numbers and symbols that are memorable for you but difficult for others to guess. Click Next to continue.
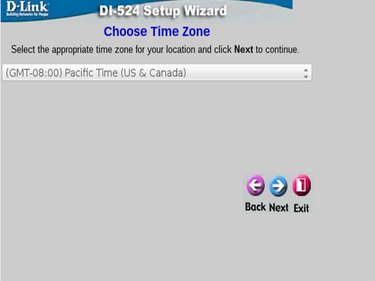
Step 6: Select Your Time Zone

Choose your time zone from the drop-down menu. Click Next to complete the setup.
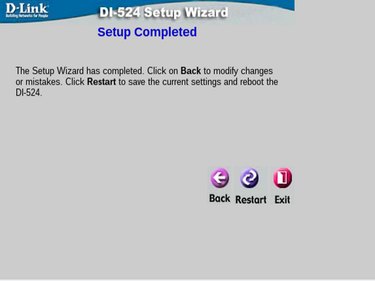
Step 7: Save the Configuration

To save the configuration, click Save or Restart on the Setup Completed screen. The router reboots and the Power, WAN and Internet status lights are lit. You can now connect your computer to your new wireless network.