
Email is a mandatory part of today's world, and having an email account on your laptop is almost never an option. Microsoft's Outlook software, which is part of the Microsoft Office suite, is the most well known software client package today. Available in the free "light" version of Outlook Express, a Macintosh version called Entourage and the standard Outlook, it's an easy-to-configure package, which requires only a few settings to work perfectly.
Step 1
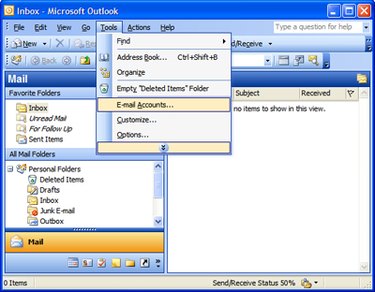
Launch Outlook and select "E-Mail Accounts" under the Tools menu.
Video of the Day
Step 2
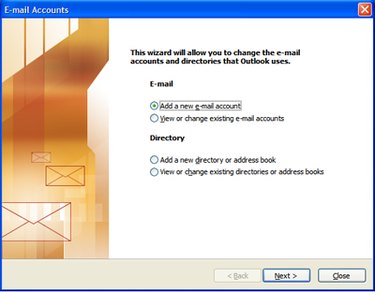
Choose "Add new e-mail account" when the wizard opens.
Step 3
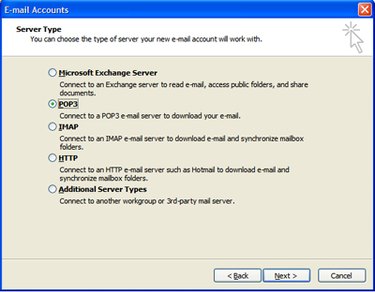
Select the type of server your provider uses. For most DSL and cable ISPs, you will check off POP3. If you're connecting to your email at work, check with your IT department to see if you're working with an IMAP or POP server, or a Microsoft Exchange Server.
Step 4
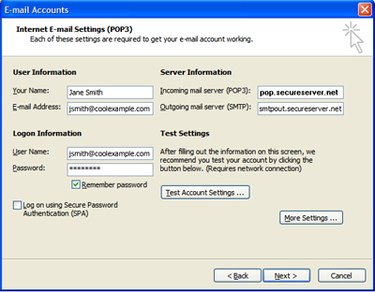
Enter the following information in the POP3 settings window (you may have to call your ISP for some of these settings): Your Name: This is the name that will appear in the recipient's inbox when they receive an email from you. E-Mail Address: This is your full email address. User Name: This your is logon name, which is usually your email address, or the first part of your email address (before the @ sign). Password: Your password. Incoming mail server (POP3): This is the name of the server that allows you to receive email. Outgoing mail server (SMTP): This is the name of the server that allows you to send email.
Step 5
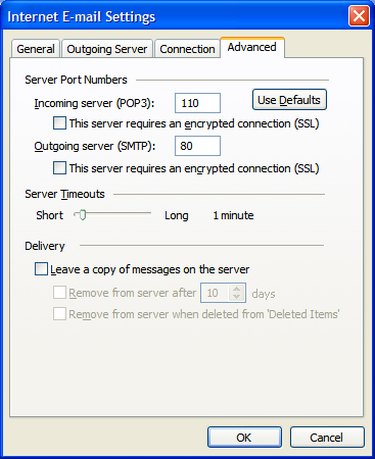
Find out if there are any additional settings you have to configure. For consumer email providers (DSL and cable), the default settings under "More Settings" are usually all that is required. But for corporate accounts, you may need to click on the "More Setting..." button to configure any additional security settings. Here, you should find out from your IT department or ISP if any additional steps are required. These include different port numbers, secure encrypted connection (SSL) or custom authentication scripts.
Step 6
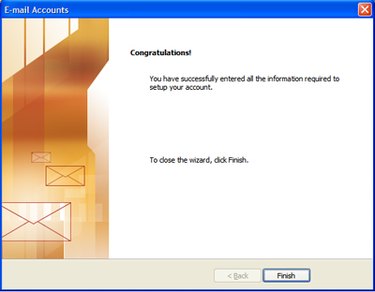
Finish the wizard and test your email. If you need to go back to tweak any settings, repeat steps 1 and 2, except choose "View" or "Change existing e-mail accounts" when the wizard opens.
Video of the Day