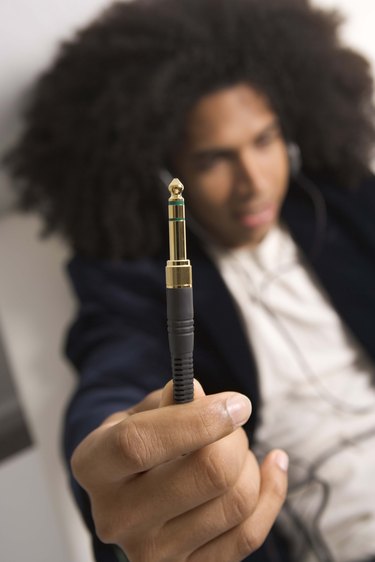
You can connect speaker wire to a 3.5 mm headphone jack with some soldering. Standard 2-wire speaker wire is designed to send a signal to one speaker at a time by creating a circuit from the audio source to the speaker. The marked side of the speaker wire is positive and the blank side is negative. A 3.5 mm stereo jack needs the signals from two 2-wire speaker wires to create a stereo output. The 3.5 mm connection uses a tip, ring and sleeve configuration to separate the signals.
Step 1
Strip the last half-inch of insulation from the 2-wire speaker wire. You need two 2-wire speaker wires to create a stereo signal in the 3.5 mm jack. Note the marked side of the wire, that is the positive connection. Twist the bare copper strands on the marked side of the wire to create a tight bundle with no loose strands.
Video of the Day
Step 2
Mark the end of the speaker wire that will go to the left channel on the receiver with a piece of masking tape with the letter "L" written on it. Do the same for the right channel.
Step 3
Take the end of the speaker wires that is going to be soldered to the 3.5 mm jack. Twist the blank wires from the right and left wires together into a tight bundle with no stray strands.
Step 4
Cut a two inch section of heat-shrink tubing and slide it over both speaker wires together.
Step 5
Identify the connections on your 3.5 mm plug. The tip connection goes to the left positive wire. The ring connection goes to the right positive wire and the sleeve connection goes to the joined negative wire.
Step 6
Hold the left positive wire to the tip connection and touch them with the soldering iron until the wire and connection are hot. Touch the solder to the connection until one drop of solder melts off. Remove the solder and the iron. Repeat for the right positive and the joint negative connections.
Step 7
Slide the heat-shrink tubing over the connections and shrink it with the heat gun.
Video of the Day