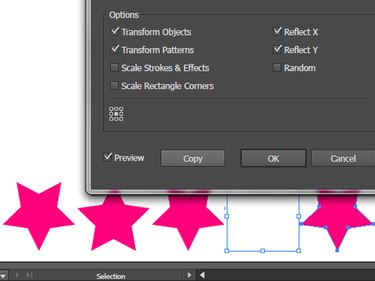
Two Adobe Illustrator panels, Transform and Align, contain tools that make it easy to create step and repeat patterns for your photo backdrops.
The Transform Panel
The Transform panel displays information about an object's location, width, height, rotation angle, and shear angle, and it can be used to calculate any of these values — with or without a live preview.
Video of the Day
Video of the Day
To begin, drag your graphic to your desired starting point.
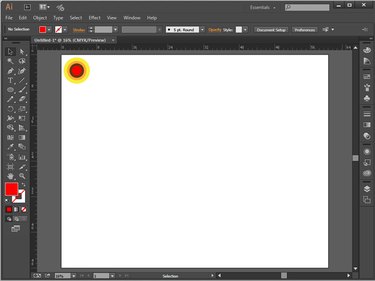
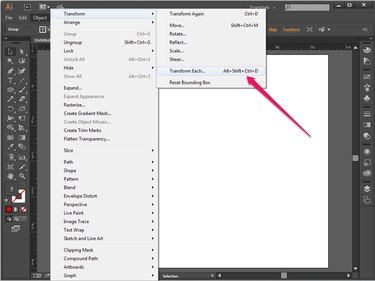
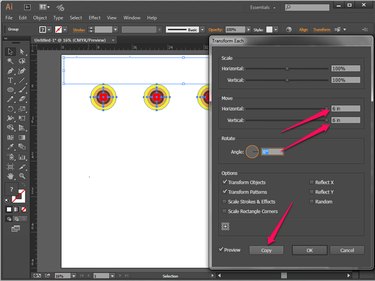
With your graphic selected, launch the Transform panel by clicking Object | Transform | Transform Each.
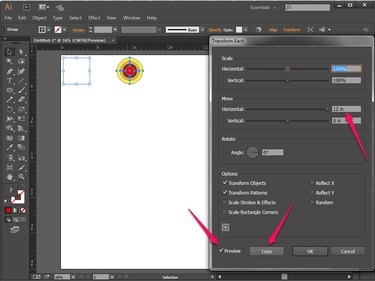
Determine the number of graphics you wish to place across your artboard and then calculate the dimensions of their placement. For example, if you want each row to contain five graphics, each 6 inches wide, and you want them approximately 6 inches apart on a canvas that is 60 inches wide, the resulting calculation would be:
60 inches wide / 5 graphics across = 12 inches between each graphic's center point
Check the Preview option at the bottom of the Transform panel and then input "12 inches" into Horizontal. Illustrator will provide you with a preview of the duplicate's location. If you're happy with placement, click Copy. Otherwise, adjust your numbers until you're satisfied. The preview will automatically update.
Press Ctrl+D (the keyboard shortcut for Transform Again) until you have a line of duplicates across the canvas. Alternatively, you can repeatedly select Object | Transform | Transform Again to accomplish the same thing.
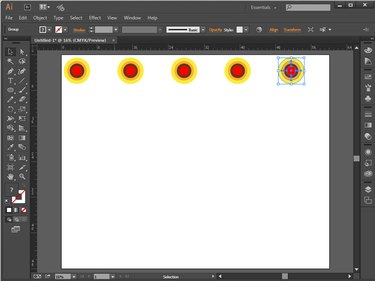
Click Ctrl+A to Select All of the graphics and click Ctrl+G to group them together. With the row still selected, launch the Transform panel once again by selecting Object | Transform | Transform Each.
Calculate the amount of space you want between rows. You may also decide to offset — or shift to the side — the rows a bit as well.
If you would like to move the new row down, for example, adjust the Vertical slider until it matches the desired distance. Alternately, enter a numerical value, such as 6 inches. If you would like it shifted to the right, adjust the Horizontal slider. Select Copy to complete the duplication.
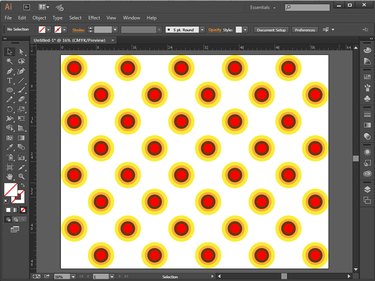
Repeat the process until you've filled the canvas.
The Align Panel
If you're not into math, or if an oddly shaped graphic is making spacing calculations tedious, it may be easier to drag and drop graphics around the canvas by hand instead. Later, the Align panel can help tidy up the spacing issues automatically.
First, place your graphic in the starting position. Copy and paste duplicates to the end of the row, dragging the copy into the next approximate position. It's not important to make the spacing perfect at this point.
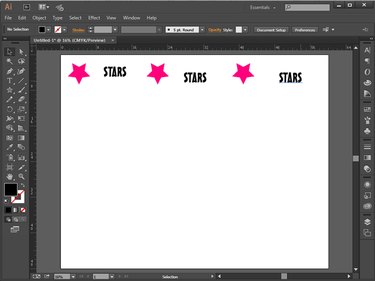
Select All of your graphics by clicking Ctrl+A. When the Align panel appears at the top of your workspace, click Vertical-Align-Center and Horizontal-Distribute-Center to align and evenly distribute the graphics.
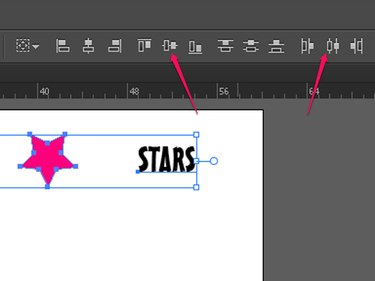
Group all of the graphics together by clicking Ctrl+A and then Ctrl+G, and then copy and paste duplicate lines, centering each by eye until alternating rows fill the canvas.
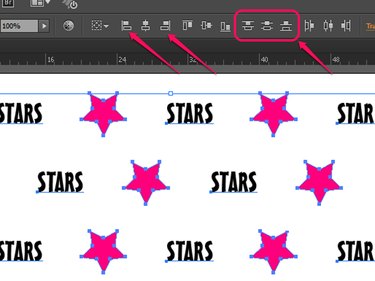
Play around with the alignment tools at the top to center everything appropriately. For example, left-align the odd rows, and then right-align the even ones. Distribute all of the rows evenly from top to bottom.
Rotating, Scaling and Reflecting
The Transform panel can also be used to modify rotation, scale and reflection of duplicated graphics.
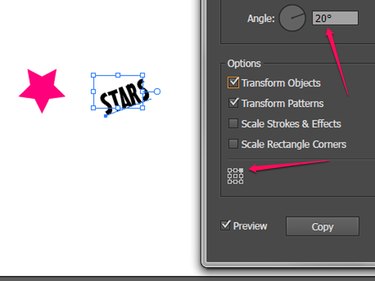
To rotate the object around its center point, enter a numerical value for the Angle option. To rotate it around a different reference point — its top right corner, for example — click one of the small white squares on the icon that appears above the Preview check box.
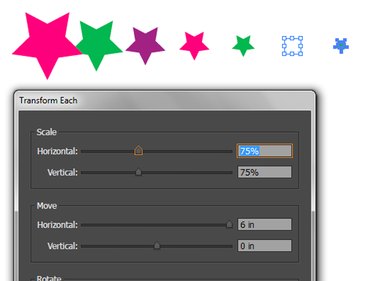
Enter percentages to Scale, or resize, the object incrementally.
Reflect an image on its X axis, Y axis, or both.
