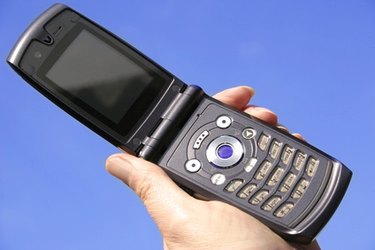
Flip-style cell phones are popular due to their useful design wherein the phone is divided into two parts: the keypad or main body of the phone, and the phone's display panel. The display panel rotates on a spring-loaded hinge to "flip" open and/or closed. When the display screen is flipped open, the phone is ready for use. Dismantling your flip phone allows you to troubleshoot and repair the device's internal components.
Step 1
Hold down the phone's power button for a few seconds until it turns off. Close the flip screen, and place the phone face down. Remove the back cover and the battery pack revealed by the cover.
Video of the Day
Step 2
Remove the Phillips-head or Torx screws fastening the phone's back housing in place. Use a thin, flat-head screwdriver to pry the back cover from the back housing from the phone to reveal the main circuit board.
Step 3
Examine the circuit board, and unplug any visible ribbon cables. Remove any screws fastening the main circuit board in place. Lift the circuit board out of the phone slightly, and unplug the ribbon cables from the opposite side of the board. These cables usually connect the keypad and LCD screen to the circuit board. Remove the board from the phone.
Step 4
Place the phone face up and open the flip screen. Use a thin, plastic object like a credit card or guitar pick to pry the front bezel from the phone's LCD screen. This is the main plastic piece on the front of the screen. Remove the screws fastening the screen's metal cover in place. Remove the cover to expose the LCD screen.
Step 5
Close the flip screen, and use your credit card or guitar pick to remove the bezel on the opposite side of the flip screen. Removing this bezel will reveal a small, circuit board. Remove its retaining screws, and unplug any cables connected to this circuit board. Remove the board from the phone.
Step 6
Use the credit card to pry the LCD screen out of its compartment. Set it aside.
Video of the Day