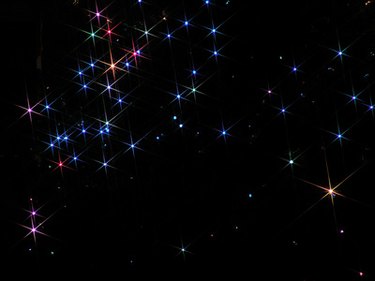
There is nothing like the photo of a starry nighttime sky. Fortunately enough, taking a photo like that doesn't require anything more than a lens, camera and a tripod. Taking photos of the night sky does require patience and the ability to stay up all night to get the right shot. With the age of digital, there is no longer the fear of wasting expensive film on poorly set up shots, meaning you can take as many shots of the sky as your heart desires.
Things You'll Need
Video of the Day
- UV filter
- Tripod
- Camera mount (optional)
- Telescope (optional)
Video of the Day
Step 1
Screw on the UV filter onto your camera's lens. Stars give off plenty of harmful UV rays, and extended exposures to the camera can harm both the lens and the shutter inside of the camera body.
Step 2
Locate an open space far away from any city lights. Any type of artificial light can ruin your star photo, the exposures you're dealing with will make small city lights seem like bright sun-like lights.
Step 3
Mount the camera on the tripod and change your Rebel's setting to manual. This lets you decide the shutter speed and aperture of the camera.
Step 4
Set your shutter speed at five seconds and your aperture at 5.6. These are the basic settings to start shooting with; you can adjust your shutter speed to get more or less starlight as you choose, but the 5.6 aperture should stay the same, as anything more or less will make the photo appear blurry.
Step 5
Aim your camera at the general direction of the sky that you wish to photograph and press the shutter. Experiment with different shutter speeds to get a whole new photograph of the same star area.
Taking Photos of Individual Stars
Step 1
Purchase a camera mount made for astrophotography. These can get quite costly as the quality of the mount rises, but they are made to last, so don't be cheap on your camera mount.
Step 2
Mount your camera onto the camera mount and place it onto your telescope.
Step 3
Move your telescope to an open area away from city lights.
Step 4
Locate a part of the sky using the camera that you wish to photograph. When you find it, set your camera to manual and set the shutter speed at five seconds and the aperture at 5.6.
Step 5
Press the shutter and experiment with different shutter speeds throughout the night.