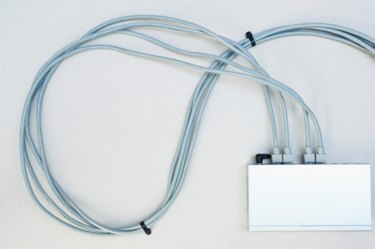
Telnet is a protocol used to connect to switches and other devices in your network. Telnet provides a connection from a computer to a remote switch. The connection allows access to make changes to the device without actually having to be on site. Telnet can save a company thousands of dollars by saving a technician work hours.
Step 1
Verify and turn on the Telnet feature in your computer, if needed. Click the Windows symbol in the lower-left corner of your computer. Click "Control Panel" and another window will open. Locate "Programs and Features" and click on it. This opens another window. Click "Turn Windows features on or off" in the left column. A feature window will open; check the box in front of "Telnet Client" and click "OK." It will take awhile but the request will complete and the option to Telnet is turned on.
Video of the Day
Step 2
Click the Windows symbol in the lower-left corner of your computer. A menu will open with a search field at the bottom. Click on the search field and type "cmd" and hit "Enter." This is the Windows abbreviation for command prompt, a program that allows you to enter commands into the computer instead of clicking icons to access items. A new window will pop up displaying the command prompt and a blinking cursor.
Step 3
Type "telnet" followed by the Internet Protocol (IP) address of the switch. The command should show that a connection is being attempted with the output "Connecting to x.x.x.x" where x.x.x.x is the IP of the switch. The next prompt you are offered is the username request from the switch. If there is not a username or password configured, it will let you in without entering a password or username. The default prompt in a new switch looks like the following output: "Switch>". When you have his prompt on your screen it confirms that the Telnet was successful. If the Telnet fails, a warning message will appear stating that a connection could not be made.
Video of the Day