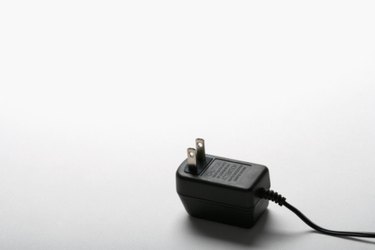
AC adapters are everywhere and they pile up quickly. Most computer accessories, PDAs, mobile telephones and MP3 players require specific adapters that should be tested periodically. AC adapter failures include bad connections, broken wiring or electrical faults. You should be familiar with basic electrical principles, electrical safety and with the use of a voltmeter prior to testing your AC adapter. Testing your AC adapter is crucial to the longevity of your adapter powered devices.
Step 1
Disconnect the adapter at both ends. Visually inspect the adapter and cable for physical signs of abuse including broken insulation, housing or plug parts. A physically broken adapter is an electrical shock hazard and should be repaired or discarded.
Video of the Day
Step 2
Inspect for scorch marks, deformed or molten housing or soot indicating an overheated or burnt adapter. Discard the adapter if it indicates damage from overheating or misuse.
Step 3
Connect the voltmeter to the outlet powering the adapter. Determine if the outlet is appropriately powering the adapter. Outlets that may be wired to switches or switched circuits may falsely indicate a bad adapter. Verify that the outlet the adapter is connected to is polarized or grounded to match the adapter.
Step 4
Read your adapter to determine input and output voltages prior to testing. Switch your voltmeter to the setting corresponding with the adapter output. Switch your power strip off and plug in the AC adapter.
Step 5
Attach the voltmeter leads to the adapter. Turn the voltmeter and power strip on. Switch the adapter on, if equipped with a switch.
Step 6
Read the voltmeter to determine the voltage put out by the AC adapter. Discard the adapter if the voltage indicated on the voltmeter does not correspond with the written rating.
Video of the Day