Windows 7 and 8 include two tools that are perfect for testing microphones, whether you're trying to set up a single headset or test a whole box of old electronics. Start by checking whether your computer picks up any audio in the Sound Control Panel, and then use the Sound Recorder to record a short test.
Check Your Recording Hardware
Video of the Day
Step 1: Open the Sound Control Panel
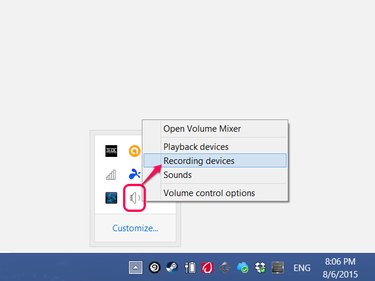
Right-click the speaker icon on the taskbar (or in the hidden icon section) and choose Recording Devices.
Video of the Day
Step 2: Test Your Microphone
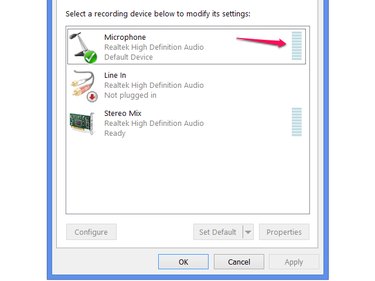
Speak into your microphone and watch the volume level bar on the Microphone line. (On some PCs, "Microphone" has a slightly different name, such as "Mic.") If the level changes as you talk, the microphone is picking up audio. If the meter doesn't change no matter how much noise you make, the mic isn't working.
Create a Test Recording
Once you know your microphone picks up audio, use Sound Recorder to make sure your voice records clearly.
Step 1: Open Sound Recorder
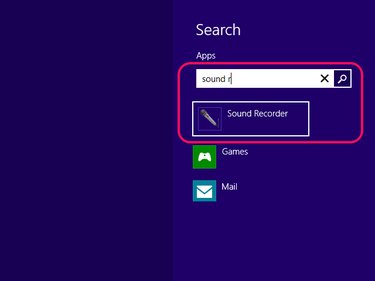
Search for and open Sound Recorder with the Start screen or Start menu search bar.
Step 2: Record a Message
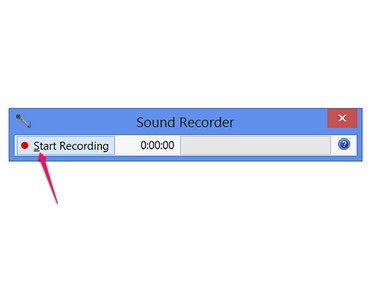
Click Start Recording and speak for a few seconds to record a message.
Step 3: Save and Play the Recording
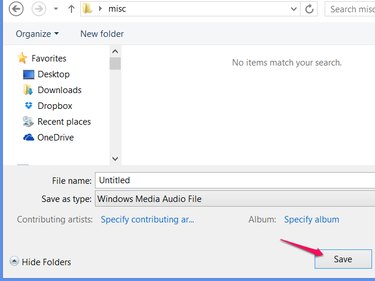
Click Stop Recording to finish the recording and bring up the Save dialog box. Save the file in an easy-to-find location, such as the desktop or a new folder. Outside of Sound Recorder, double-click the file you just saved to listen to it.