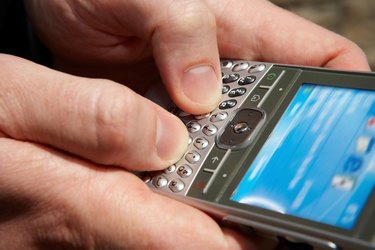
Downloading photos from your Samsung cell phone to your computer is a simple process that allows you to share the images with family and friends over social networks, email and more. The majority of Samsung cell phones include an in-built camera that permits you to take pictures no matter where you are. From there, you can upload your photos in one of two ways with very little hassle.
Direct Computer Download
Video of the Day
Step 1
Select the "Menu" option on your Samsung cell phone and select "Settings." Then choose "Phone Settings" and select "USB Settings." Select "Mass Storage." This allows you to connect your cell phone to the computer using a USB cable.
Video of the Day
Step 2
Connect your Samsung cell phone to the computer using the supplied USB cable. Your computer automatically recognizes the cell phone as a portable hard drive.
Step 3
Click "My Computer" on the desktop if you are using Windows. You should see your cell phone listed as a portable hard drive. Windows also assigns it a letter such as J, K, L, D or G. For Mac users, the cell phone hard drive is on the desktop.
Step 4
Double-click your cell phones hard drive to launch it. Select the "Photos" folder located in the hard drive. You should see a list of the images on your Samsung cell phone. Right-click the images you want to upload to your computer and click "Copy."
Step 5
Select the folder where you want to download the photos to on your computer. Right-click an empty spot in the folder and click "Paste" to download the photos to your computer.
Step 1
Select the image on your Samsung cell phone you want to download to your computer and click "Options." Click "Send."
Step 2
Type in your email address and click "Send" to email the photo.
Step 3
Log into your email account and open the email containing the photo. Click the "Download" option. Click "Save as" and select the location where you want to download the photo.
Step 4
Type in a name for the photo and click "Save" to download the photo from your Samsung cell phone to your computer.