A convenient feature of many DVR units like those offered by Dish Network is that they often feature USB and Firewire ports to connect an external SATA hard drive. Thus, if you fill up your DVR hard drive and are not able to make any new recordings, you can dump your current DVR recordings onto an external hard drive via a simple data cable connection and free up space on the DVR's internal drive. If you use a Dish Network DVR and need to transfer recordings off of it onto an external drive, you can do so in just a few basic steps.
Step 1
Contact Dish Network and add the External Hard Drive (EHD) fee to your account. Dish Network requires a charge to "unlock" the USB ports on your DVR, so until you pay this fee you will not be able to use those ports for any data transfer. Once the fee has been added to your account, you are ready to proceed.
Video of the Day
Step 2
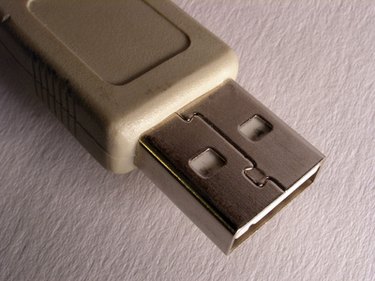
Connect the SATA drive to the Dish DVR via the USB port. You should see a pop-up window indicating that the DVR recognizes the connection.
Step 3
Format the drive when prompted to do so. The drive must be formatted before you will be able to transfer any data to it, but understand that formatting the drive will erase any data you currently have saved on it, so it is always ideal to use a blank drive for this procedure.
Step 4
Follow the on-screen prompts to download DVR recordings onto the drive. This procedure will vary slightly depending on which model of Dish DVR you are using, so simply follow the on-screen directions and download your DVR recordings onto the SATA drive.
Video of the Day