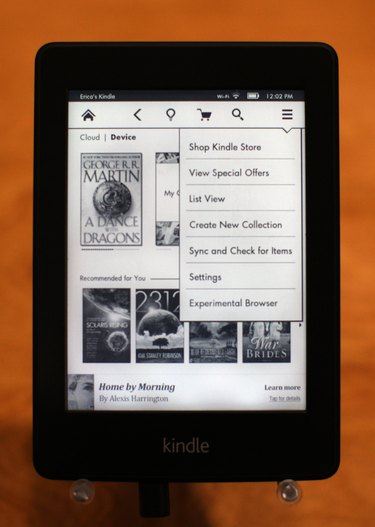
Amazon's Kindle e-readers and Kindle Fire tablets enable you to take your reading and other entertainment with you on the go. Your Kindle is only as entertaining as the content on it, making it crucial to transfer purchases to your Kindle. While it's more convenient to transfer files via the Internet, when not available, you can also transfer content using the USB cable that came with your Kindle.
Download the Files
Video of the Day
Step 1
Visit Amazon's website on your PC and log in to your account. Click the "Your Account" drop-down menu and select the "Manage Your Content and Devices" option.
Video of the Day
Step 2
Place a check mark next to the item you want to transfer via USB. Click the "Actions" button and select "Download and Transfer via USB."
Step 3
Select the Kindle device you want to transfer the content to, if asked, then click "Download." Make a mental note of where the file saves on your computer.
Kindle E-Readers
Step 1
Plug your Kindle's USB cable into an unused USB port on your computer. Plug the smaller end into your Kindle e-reader.
Step 2
Enter Desktop mode and click "File Explorer." Locate your Kindle under "Devices and Drives" and double-click the device. Double-click the "Documents" folder.
Step 3
Right-click "File Explorer" and select "File Explorer" from the context menu to open a new window. Navigate to the file you downloaded from Amazon, or the file you want to transfer to your Kindle. Drag the file into the Kindle's File Explorer window and let go.
Step 4
Right-click the "Safely Remove Devices and Hardware" icon in the notification area. Select the "Eject" option before unplugging your Kindle.
Kindle Fire Tablets
Step 1
Connect your Kindle Fire tablet to your computer using the device's included USB cable. If prompted, unlock the device from the tablet's lock screen.
Step 2
Open Desktop mode before clicking "File Explorer" and selecting "Kindle" from "Devices and Drives." Double-click the "Internal Storage" folder.
Step 3
Navigate to the file you wish to transfer in another File Explorer window. Drop the file in the appropriate folder. For example, place photos in the Pictures folder, or songs in the Music folder.
Step 4
Right-click "Safely Remove Devices and Hardware" in the notification area and click "Eject." Unplug your Kindle and computer from the USB cable.