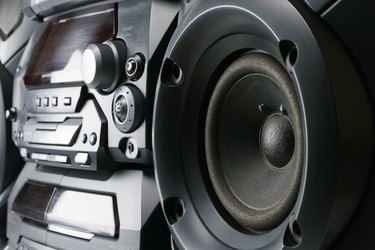
This article will instruct you on how to transfer music from your favorite CD to a cassette tape. This is useful for older vehicles that have a cassette player and no CD player. Now you can still hear your favorite tunes without buying a new radio. Read on to learn how to transfer music from CD to a cassette tape.
Step 1
Turn the power on to your stereo unit. Place the cassette tape into the deck and make sure to rewind it all the way on side A. Now that you have a fresh tape to start with, change the function on your stereo to CD.
Video of the Day
Step 2
Insert the CD that has the music you want to transfer into the CD slot and close the door. If you are going to record the entire CD, there is only one more step. If you are only going to use a few songs on this disk, write down the number of the tracks you are going to use.
Step 3
Now to begin transferring the music, begin by hitting "Play" on the CD player to start the song. At the same time, press the "Record" button on the tape deck to begin the recording process. When the song is over, press "Stop" on your tape deck. If you are recording the entire CD, there is no need to press "Stop." Just continue to let the tape record while the CD plays until the end of the disk. If you are using only certain songs, continue this process until you have recorded all the songs you wish to transfer.
Step 4
Now that you are done recording, switch your stereo back to Tape function. Rewind the tape to the beginning, and listen to the quality of your recording. If you are satisfied with this, you are finished. If you are not happy with the sound, completely erase the tape and begin again. To erase the tape, rewind it completely and press record. Let it go on until the end of the tape, and when you are through it will be blank again. Congratulations on your new tape.
Video of the Day