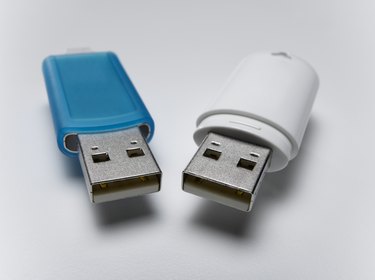
Over the years, the amount of storage provided by portable USB drives has rocketed up continuously, even as the cost of that storage has plummeted. One can end up accumulating several USB drives of different sizes, each holding assorted files.
If you now have a larger USB drive, combining all of the files from your previous drive or drives with your current USB drive is a simple process that can take as little as 10 minutes.
Video of the Day
Video of the Day
Combining the files (Microsoft Windows)
Step 1
Plug the old USB drive from which you want to transfer files into a USB port on your computer.
Step 2
Go to the Windows desktop, right-click the mouse and select "New" followed by "New Folder." A folder will appear on your desktop with highlighted text that reads "New Folder." Click on the text, give the new folder a name and press the "Enter" key.
This folder will serve as a way station for your old files on their way to the new drive.
Step 3
In Windows 7 and Vista, click on the button with the Microsoft Windows icon in the corner of the screen and select "Computer."
In Windows XP, click the "Start" button in the corner of the screen, select "Run..." and type the word "explorer" before clicking the "OK" button.
Step 4
Select your USB drive from the list of drives by double-clicking it.
Step 5
Select all of the files and folders you want to transfer to your new drive, and then drag and drop them into the folder you just created on your desktop.
Step 6
Wait for the copying of the files to finish. When you've copied all the files you'll want into the folder on your desktop, safely remove the old USB drive from your computer.
Step 7
Repeat the preceding steps for each older USB drive that contains files you'd like to consolidate. You can use the same folder you created the first time, or make additional folders with names such as "USB 1", "USB 2" and so forth.
Step 8
Plug in your new USB drive, drag and drop the new folder (or folders) you created on your desktop to the icon for the USB drive and you're done! The files from your older USB drives have been combined onto one drive.
If you find more old USB drives later, you can repeat the steps above.
Transferring the files (Apple Macintosh)
Step 1
Plug the old USB drive from which you want to transfer files into a USB port on your Apple Macintosh computer.
Step 2
Click on the Finder's "File" menu at the top left of the screen and select "New Folder." A folder will appear on your desktop with highlighted text that reads "New Folder." Click in that text, give the new folder a name and press the "Enter" key.
This folder will serve as a way station for your old files on their way to the new drive.
Step 3
Click on the Finder icon for your old USB drive and drag and drop it--or specific files and folders from it--into the new desktop folder you just created.
Step 4
Wait for the copying of the files to finish. When you've copied all the files you want into the folder on your desktop, drag and drop the icon for your old USB drive to where the trash can icon normally sits on the Dock, although it will now appear as an "Eject" icon instead. You can now safely disconnect the USB drive from your Mac.
Step 5
Repeat the preceding steps for each older USB drive that contains files you'd like to consolidate. You can use the same folder you created the first time, or make additional folders with names such as "USB 1", "USB 2" and so forth.
Step 6
Plug in your new USB drive, drag and drop the new folder (or folders) you created on your desktop to the icon for the USB drive and you're done! The files from your older USB drives have been combined onto one drive.
If you find more old USB drives later, you can repeat the steps above.