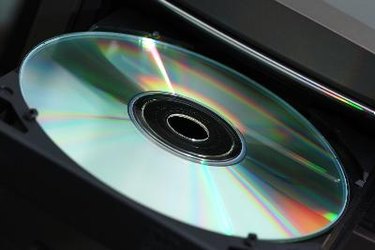
Transferring files to a compact disc is a process commonly referred to as "burning." Burning pictures to a compact disc will allow you to easily transfer your pictures to another computer, as well as provide you with a backup of your pictures in the event that your computer hard drive crashes. The process of burning pictures to a compact disk varies slightly depending on the operating system that you are using.
Windows XP
Video of the Day
Step 1
Insert the CD into the CD drive.
Video of the Day
Step 2
Select "Open a Writable CD Folder" when prompted.
Step 3
Click on your pictures, or the folder with your pictures in it, and drag it into the newly open writable CD folder.
Step 4
Click "Write These Files to CD," from the menu at the top of the window. The CD will automatically eject once the files have been burned onto the CD.
Windows Vista or Windows 7
Step 1
Insert the CD into the CD drive.
Step 2
Select "Burn Files to Data Disc" when prompted.
Step 3
Type in a name for the CD when prompted and then click "Next." A new folder will open automatically.
Step 4
Click on the folder with your pictures in it and drag it into the newly opened folder. The pictures will burn onto the CD as they are dragged into the folder.
Mac
Step 1
Insert the blank CD into the CD drive.
Step 2
Name the CD when prompted and then click "OK." A new icon will appear on your desktop.
Step 3
Drag the pictures, or the folder containing the pictures, onto the icon.
Step 4
Drag the icon into the trash. A window will open up asking you whether you want to "Burn" the disc. Select "Yes."