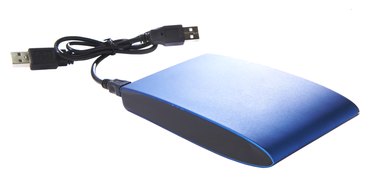
There might come a day when you find yourself needing more space on your computer or you might need to run a program on two different computers. That being the case, your solution might be to use an external drive. Keep in mind that transferring programs to an external drive requires a bit more effort than simply transferring a file. In some cases, you'll discover there simply is no way to transfer a program to an external drive and you'll need to identify those programs.
Transferring Programs to an External Drive
Video of the Day
Step 1
Install any software that came with the external hard drive. Even though many external hard drives are "plug and play," they usually have model-specific software to assist in the transferring of files and programs.
Video of the Day
Step 2
Attach the external drive to the computer that contains the program you wish to transfer, using the USB cable.
Step 3
The easiest way to transfer a program to an external drive would be to reinstall the program onto the external drive. When you are installing the software, you will be prompted to pick a drive location for the program. Instead of using the drive on your computer (normally C:), you will want to use whichever drive is designated for your external drive.
Step 4
If you only need to move the program files and not the program itself, you can simply locate the file folder that contains all of the program information and copy it to the external drive. You can also right-click on the file folder, and when you reach the "drop-down" menu, access the "Send to" option, transmitting it to the external hard drive.
Step 5
If the program will not operate from the external hard drive, it is tied into the computer registry of the initial computer and cannot be circumvented. If that is the case, only the data files for the program can be used from the external drive.