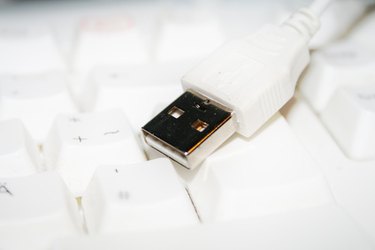
A voice recorder is a small, portable device, roughly the size of a cell phone. This recorder allows you to capture audio when on the go, and possesses the ability to play back the data at any later date. Once you've captured the audio, you can upload the files from the portable recorder onto any computer with a USB port. The recorded audio files are small in size, so the actual transfer process only takes a few minutes to complete.
Step 1
Insert the USB cable into the USB port on the side of the voice recorder. The exact location of the port will vary, depending on what voice recorder you are using.
Video of the Day
Step 2
Connect the opposite end of the USB cable to one of the USB ports on the computer system.
Step 3
Power on the voice recorder. In a moment, the computer will state that it has detected a new, removable device.
Step 4
Click "Start" and "Computer" (or "My Computer"), and then double-click the removable device icon. A window will appear with all of the recorded audio files.
Step 5
Click and drag the audio files from the recorder onto the computer. It does not matter where you save the files to on the system; put them on the desktop for easy access, or create a new folder to hold all audio files. Then, close out the open voice recorder window. Right-click the icon and choose "Eject." When the icon disappears from view, it is safe to disconnect the voice recorder from the computer.
Video of the Day