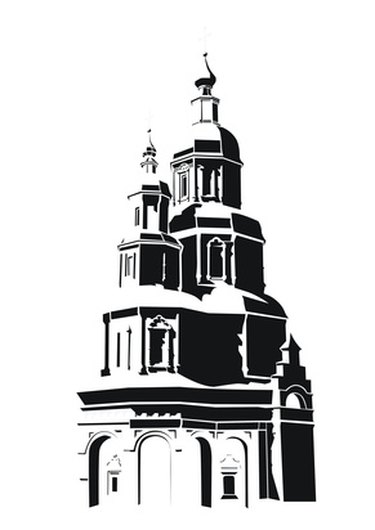
A vector image is a style of digital image which does not consist of a series of pixels like a raster image, but rather a series of paths. The biggest benefit of a vector image is the ability to make it as large or small as desired without losing clarity. The Adobe Creative Suite comes with two programs which can be used to convert a photo into a vector image, with Photoshop allowing you to style the image, and Illustrator to convert it into a vector.
Preparing the Image in Photoshop
Video of the Day
Step 1
Open the image in Photoshop and convert it to gray scale. Grey scale conversion is completed by selecting Image from the top menu, then Mode and Gray scale.
Video of the Day
Step 2
Adjust the contrast of the image to +28. To open the contrast editor select "Image" then "Adjustments" then "Brightness/Contrast."
Step 3
Apply the "Photocopy Filter" by selecting "Filters," "Sketch" then "Photocopy" and setting the parameters for "Detail" to 12, and "Darkness" to 14.
Step 4
Select the eraser tool with a size that is large enough that you will not have to waste time, but small enough that you will not accidentally erase details.
Step 5
Erase any noise that you do not want to show up in the vector then save the file. Common noise is splotching on large expanses that should all be the same color, such as on faces.
Converting to Vector with Illustrator
Step 1
Open a new Illustrator file and place the image from Section 1 by selecting "File" then "Place," and selecting the saved image from Section 1.
Step 2
Trace the object to convert it into a vector image by selecting "Object," then "Live Trace" and "Tracing Options." Set the threshold to 200 before completing the trace. You will not have to manually trace the item, the computer will handle it for you.
Step 3
Use the selection tool to circle any paths you do not wish to keep, and click "Delete" to remove them.
Step 4
Use the "Pen" tool to draw a path which can be used for adding color beyond the paths created by the "Live Trace" option. For example, when coloring in a face, paths would be used to outline the hair, face, eyes and lips.
Step 5
Use the bucket tool to fill in the paths created by you and by the trace to create your color vector image.