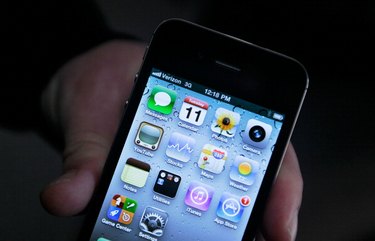
Setting up your iPhone to work with a new computer can completely erase your data from the device unless you are careful. Disabling the automatic sync option in iTunes is an essential step to ensure your data is preserved. After the auto-sync option has been disabled, you can safely connect your iPhone and begin the task of copying your music, contacts and applications over to the new computer.
Step 1
Connect your iPhone to the computer using the USB cable provided with the device.
Video of the Day
Step 2
Open iTunes and wait for your iPhone to appear in the list of connected devices.
Step 3
Slide your finger across the bottom of the iPhone screen to cancel the syncing process.
Step 4
Click the "Summary" tab in iTunes and uncheck the box for "Automatically sync when this iPhone is connected."
Video of the Day