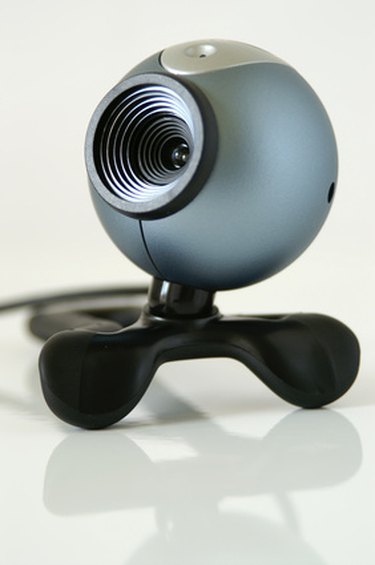
Logitech webcams are widely used in computers running Windows operating systems. With a webcam, you can voice-chat as well video-chat with your friends and family members. Like most other manufacturers, Logitech webcams come with software that helps you install and turn on the webcam.
Step 1
Insert the CD-ROM (provided to you when bought the webcam) into your CD/DVD drive.
Video of the Day
Step 2
Choose "Install/Start" when prompted. Choose your language.
Step 3
Follow the on-screen guided prompts (personal information, location, email address, etc.) to complete installation.
Step 4
Connect the webcam when promoted. Inserting the webcam USB cable into one of your USB ports. Wait patiently as Windows installs the necessary drivers required to turn on the webcam.
Step 5
Click "Finish" when prompted. Launch the webcam software from either the Start menu (under the "Logitech" folder) or the quick-launch icon at the notification area of your taskbar (next to the clock).
Step 6
Click the icon "QuickCapture" at the top of the main program window to turn on your webcam.
Video of the Day