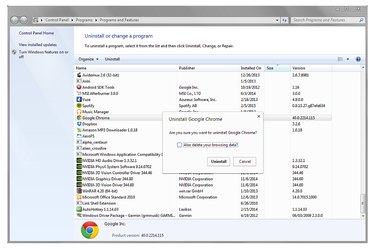
As with most other Windows programs, Chrome usually uninstalls through the Programs and Features Control Panel. Uninstalling Chrome this way ensures that your computer recognizes Chrome's removal and automatically switches back to another Web browser -- Windows 7 includes Internet Explorer. After you uninstall Chrome, check its installation location to delete any remaining files. If regular removal fails, you can also delete these files to uninstall Chrome manually, but always try regular removal first to avoid later glitches.
Uninstall Chrome from Windows
Video of the Day
Step 1
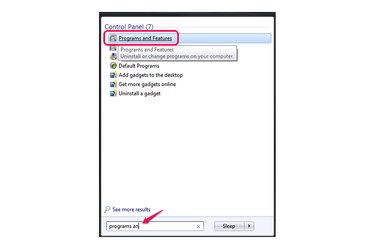
Search for and open the "Programs and Features" Control Panel using the Start menu.
Video of the Day
Step 2
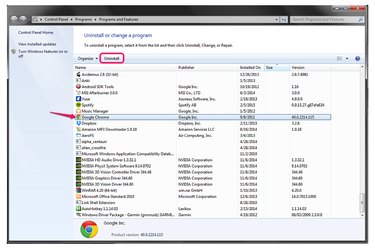
Select "Google Chrome" from the list and press "Uninstall." If you have trouble finding Chrome, search for it with the search bar in the upper right corner.
Step 3
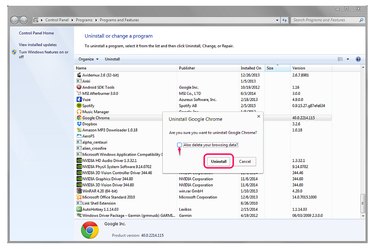
Check "Also Delete Your Browsing Data?" if you want to remove information such as your Web history. If you're planning to reinstall Chrome, don't check this box unless you want to start from scratch. Click "Uninstall" to remove Chrome.
Step 4
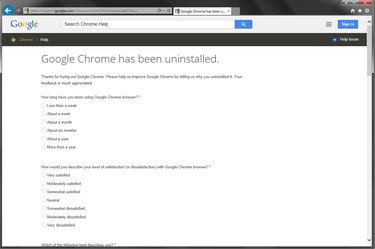
Fill out Google's survey that pops up, if you want to. Otherwise, close the window.
Clean Up Remaining Files Manually
Step 1
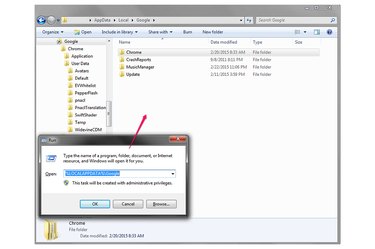
Press "Windows-R" and run the command %LOCALAPPDATA%\Google to reach the directory that contains data for Google's programs, including Chrome. To completely erase the browser's files and user data, delete the entire Chrome folder. To pick and choose parts to retain, open it.
Step 2
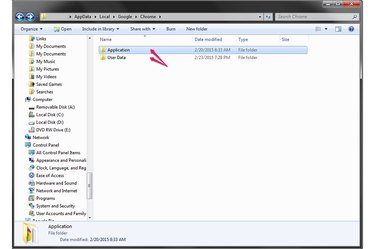
Delete the Application folder to remove any remaining program files for Chrome. Delete the User Data folder to remove user files including preferences and extensions. If you want to delete only one user's data, open the folder instead of erasing it.
Step 3
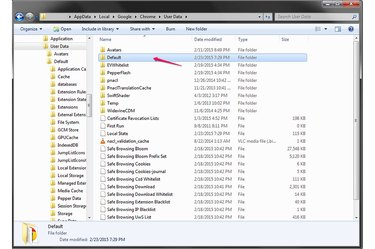
Delete a Chrome profile folder to remove one user's data while preserving other profiles for a later reinstallation. Chrome's first profile folder has the name "Default," while others bear a number such as "Profile 2."