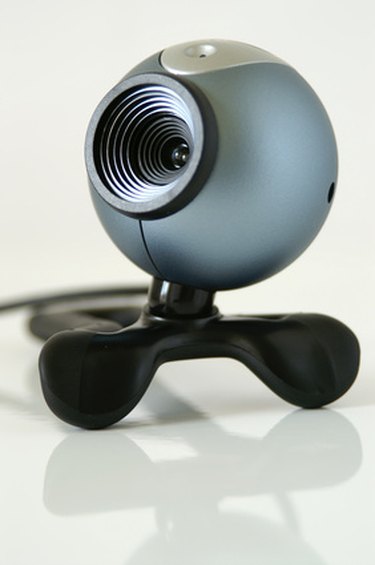
The Canon PowerShot is a line of compact digital cameras launched in 1995. Some of the features include a 14x digital zoom, video recording and image stabilization. You can use your Canon Powershot as a webcam if you have the correct adapter. It only takes a few minutes to set up. Not only will it give you a better picture than most webcams, but it will keep you from having to buy additional equipment.
Step 1
Purchase a USB video-capture adapter. This device will link your Canon PowerShot camera with your personal computer and allow you to use it as a webcam. Two brands that you can use are Easy Cap and USB Port Video. As of 2010, these devices can cost between $10.99 to $79.
Video of the Day
Step 2
Connect the USB video adapter to your computer. Plug the USB end of the video capture adapter to an available port on your computer.
Step 3
Connect the audio/video cables to the audio/video output jack on your camera. Then connect the color-coded cables from the video-capture adapter into the corresponding holes of the color-coded camera cables. So red into red, white into white, yellow into yellow.
Step 4
Install USB adapter drivers on the computer. Once plugged in, the computer will detect your Canon PoweShot camera and will ask for the drivers. From the options, select "Have Drivers" and insert the CD that came with your adapter. Click on "Next," find the CD and then select "Next" to continue installation process and once done, choose "Finish."
Step 5
Use your Canon PowerShot as your webcam. On the computer, go to "Start," then "My Computer," find your camera listed under "Removable Drives" click on your Canon PowerShot. The camera will begin functioning and a live feed will appear on your screen. Open whichever video-chat program that you use; it will automatically detect your PowerShot, which you can now use as your webcam.
Video of the Day