External USB audio cards give a user better sound quality and results than a standard, on-board sound card, in terms of performance. Usually, external cards can provide better bit depth while recording. If you have never before tried using an external USB sound card, you may have a few questions as to getting it properly set up and configured on your machine. With the right instruction, you too can make the most out of your new audio device.
Step 1
Insert the USB sound card's driver installation disc and install the software. There will be on-screen instructions to walk you through the process. The installation instructions will vary depending on the manufacturer.
Video of the Day
Step 2

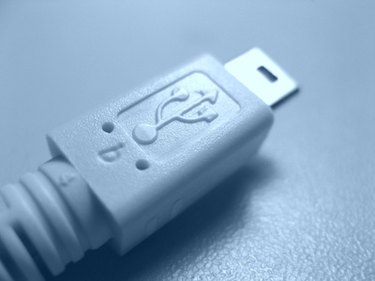
Connect the USB sound card to your computer by plugging it into one of the USB ports with the USB cable. It is best to use a USB port that has not had any other devices installed to eliminate conflicts.
Step 3
Go into your computer's Control Panel by clicking "Start" and selecting "Control Panel" from the list of devices. the Control Panel allows you to customize the functionality of your computer and all of its connected devices.
Step 4
Click "Hardware and Sound" from the list of different options on the next screen.
Step 5
Select "Manage Audio Devices" underneath the "Sound" section on the next screen. This will take you to where audio devices can be enabled or disabled.
Step 6
Click on the name of the USB sound card device, then select "Properties." This next screen is were you make general settings as to the desired volume of the device.
Step 7
Select "Use this Device." Your new USB audio device will now be ready to use once headphones or external speakers are attached.
Video of the Day