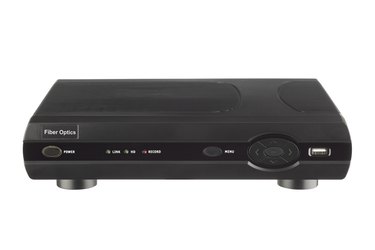
Motorola HD DVR cable boxes allow you to digitally record hours of your favorite television programming on an internal hard drive. Recording programs to your Motorola DVR can be done with the touch of a single button. Motorola HD DVR cable boxes also include a digital clock feature that can be set to display on the unit's front LED screen. The clock in your Motorola HD cable box automatically sets itself using the time supplied by your cable provide.
Recording Programs
Video of the Day
Step 1
Set your Motorola HD DVR cable box to record programs in advance. Press the "Menu" button on the remote control twice to bring up the TV Guide menu screen. Highlight the desired program on the schedule and press the "Record" button to set your DVR to record the specified upcoming program.
Video of the Day
Step 2
Record a currently-playing television program to your Motorola HD DVR cable box by pressing the red "Record" button on the unit's remote control.
Step 3
Use the "Play", "Pause", "Fast-Forward", "Rewind" and "Stop" buttons on the remote control to navigate the playback of your recorded programs.
Display Digital Clock
Step 1
Access the Cable Mode for your Motorola HD cable box by pressing the "Cable" button located at the top of the remote control.
Step 2
Press the "Menu" button on the remote control twice to access the unit's TV Guide menu screen.
Step 3
Use the up and down arrow buttons to scroll through the list of presented options until the "Setup" option is highlighted. Press the "Select" button on the remote to access the Setup Menu.
Step 4
Scroll through the Setup Menu options until the "Cable Box Setup" is highlighted. Press the "Select" button to see the cable box setup options.
Step 5
Scroll down to where it says "Front LED Display: Current Channel". Highlight the "Current Channel" option. Press the left or right arrow key to change "Current Channel" to "Current Time". Note that your Motorola HD cable box will now show the current time on its front LED display screen. Press the "Exit" button.