Western Digital produces a line of external hard drives called the MyBook. Although MyBook hard drives are capable of working with both Macs and PCs, they are initially formatted for use with only the Windows operating system. As a result, you will need to reformat a MyBook hard drive with the Disk Utility tool before it will work with your Apple laptop or desktop. Disk Utility is included with all versions of Mac OS X.
Step 1
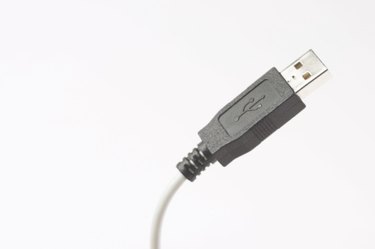
Connect your Western Digital MyBook external hard drive to your Mac computer with the included USB cable.
Video of the Day
Step 2
Click on the "Finder" icon in the dock to open a new Finder window.
Step 3
Navigate to the "Applications" section and open the "Utilities" folder.
Step 4
Double-click on the "Disk Utility" icon.
Step 5
Highlight the name of your MyBook external hard drive from the list on the left side of the window. Make sure to select the top level of the drive and not one of the individual partitions.
Step 6
Go to the "Partition" tab at the top of the window.
Step 7
Open the drop-down menu under "Volume Scheme" and choose "1".
Step 8
Press the "Options" button, choose "GUID Partition Table" and then click "OK". If you are using an older Mac with a PowerPC processor, choose the "Apple Partition Map" option instead.
Step 9
Enter a new name for the hard drive and select "Mac OS Extended (Journaled)" as the format type.
Step 10
Click "Apply" and "Partition" to reformat the MyBook external hard drive for use with your Mac.
Video of the Day