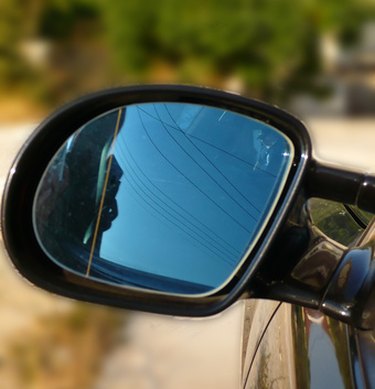
Removing a reflection from a photograph using Photoshop is a challenge. There are many different types of reflections and each requires a different approach. Small light reflection artifacts or lens flares frequently mar outdoor photographs. To remove a small glare in a glass window you need to blend it back into its background. If you want to remove a reflection in a mirror, you need to replace that part of the image with other pixels. Use a deft touch to reconstruct reality and match light and atmospheric levels.
Step 1
Start your computer and open Photoshop. Upload your digital image to the desktop, or scan in a photographic print. Load the photograph into Photoshop.
Video of the Day
Step 2
Choose "Layer" and "Duplicate Layer" from the Menu bar and the sub menu.
Step 3
Locate the reflection that you want to eliminate. If the reflection is a light glare in a window, click on the "Magic Wand" icon in the "Toolbox" palette. Type "20" in the "Tolerance" box located on the horizontal options bar. A segmented line surrounds your selection.
Step 4
Choose "Select" and "Feather," then enter "6" in to the "Feather Radius" box. Click "OK." Choose "Image" "Adjust" and "Levels."
Step 5
Locate the "Output Levels" slider bar at the bottom of the "Levels" palette. Move the right side slider arrow to the left slightly. Notice that your reflection mutes. Continue until the reflection blends in with the rest of the image.
Step 6
If you need to eliminate a reflection in a mirror, replace the reflection with surrounding pixels. Click on the "Clone" brush tool in the "Toolbox" palette. Hit "Option" and click in a clear part of the background next to the reflection, and then click on top of the reflection itself. Stamp with the tool to replace the reflection with its neighboring pixels.
Step 7
Click on the "Lasso" tool in the "Toolbox" palette. Click and draw a simple circle around the area you have fixed. Choose "Edit" and "Copy" then "Paste."
Step 8
A new layer opens. Choose "Filter" and "Blur" and "Gaussian Blur." The "Gaussian Blur" option window opens. Type "1" in the "Radius" box then click "OK" to accept the settings and to close the window. Type "40" in the "Opacity" box located at the top of the "Layers Control" panel.
Step 9
Choose "Layer" and "Flatten Image" from the Menu bar and pull down menu. Save your image as a JPEG or TIFF file.
Video of the Day