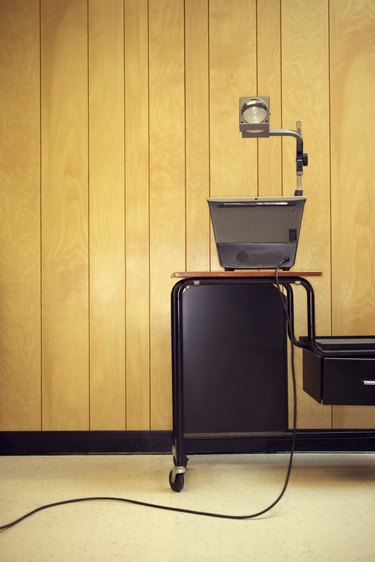
A projector is really nothing more than a bright light source shining through a colored film with the image on it. The same could be said for liquid crystal screens like those on laptop computers. If you were to remove the back of a laptop's LCD screen so that you could shine a bright light through it, you would have a projector on your hands. A laptop screen is identical to a flat screen monitor, except that it's mounted to the computer's base. This build will make the laptop screen useless without the projection light, so only do this to a laptop that you don't need for anything else.
Laptop Modification
Video of the Day
Step 1
Unplug the laptop and power it off. Remove the battery. Set the laptop on a flat, well lit surface for work.
Video of the Day
Step 2
Remove the LCD screen from the laptop. Generally there will be a plastic piece that covers the hinge points. You need to remove the plastic cover with your prying tool and unscrew the hinge anchors for the LCD screen.
Step 3
Remove the bezel around the screen; the bezel is the plastic border on the edge of your LCD screen. Look for any screws and remove them. Gently pry the bezel back from the screen with the prying tool. Pop off one section of about two inches and then move around the edge of the screen to the next section. Once the bezel is removed you should see the screws holding the LCD screen in the housing.
Step 4
Remove the screws holding the LCD screen in place and lift it free of the housing. Unplug any wires that connect the screen to the laptop. Don't damage the wires; you'll need them to plug the screen back in. Most plugs will have a spot to press that will release a lock, similar to a plastic buckle, but much smaller.
Step 5
Flip the LCD screen face down on your work surface and remove the screws holding the back plate on it. This is the backlighting mechanism. Once you remove the back plate you will also need to remove the light and diffuser plate so that there is just the LCD screen left. The diffuser plate is a semi-transparent layer that diffuses the backlight across the whole LCD screen. If you hold the LCD screen up to the light you should be able to see through it.
Step 6
Reconnect the LCD screen to the computer with the wire, leaving the backlight, diffuser and back plate out. Lay the screen on top of an overhead projector. Turn on the projector and center the screen so that the projected light is only what's passing through the LCD. The light passing through the LCD screen will be almost nothing, since the computer is turned off. Tape the screen in place with gaffer's tape and cover any areas around the edge of the screen where light from the projector is leaking out. Gaffer's tape is used extensively in the movie industry to secure hot lights and wires during shoots.
Step 7
Plug in the computer and power it on. You can now play movies on the laptop and they will be projected onto the wall or screen. If the video isn't lined up, you can easily remove the gaffer's tape and reposition the LCD as necessary.
External Projector
Step 1
Set up your laptop and projector in the center of the room so the projector can be aimed at the screen or wall.
Step 2
Connect your laptop to the projector with either a VGA cable or an HDMI cable. Note that if you use the VGA cable you will also need to connect RCA audio cables from your computer to your projector or other sound output device. The HDMI cable carries both the sound and video information in one cable.
Step 3
Click "Start" and type "Connect to a Projector" and then press "Enter." Choose "Duplicate," "Extended" or "Projector Only" from the list of options. If you choose "Extended" you will need to drag the window for your video to the left or right from your laptop monitor for it to appear on the external projector.
Step 4
Start a video and play it through the projector.