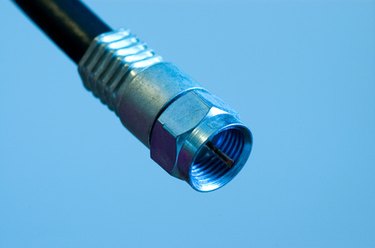
A channel scan is a vital part of utilizing your cable TV service. When a coaxial cable is connected to a TV, sometimes it will not display any channels until you configure the TV for your specific cable connection and scan for available channels. A channel scan can be applied to basically any type of TV or TV/VCR combo, even if you are missing its remote control.
Step 1
Bring up the TV's menu. Look for a button on the front panel of your TV/VCR labeled "menu" or "setup." Press it and you should see a menu appear on the screen. Part of the menu should inform you what buttons you can use to navigate through the menu. If not, try using the volume buttons or channel buttons on the front of the TV and see if pressing those allows you to navigate through the menu.
Video of the Day
Step 2
Specify channel scan settings. Once you are able to navigate through the TV's menu, look for the "channel scan" "auto-program," or "auto-tune" option. This may be inside one of the TV's sub-menus such as "setup," "channel setup," or the like. The key of this step is to specify your cable settings before running your channel scan. The "tuner mode" option needs to be set to "cable" rather than "air" or "antenna." You may have to specify what cable type to use, this will be set to "std" or "standard" for the vast majority of cable providers. If you are not certain what cable type you use at home, contact the technical support department of your cable provider.
Step 3
Run a channel scan. Once the scan settings have been set properly, run the scan (usually done by pressing a "start," "scan" or "begin" button.) When the scan is complete, check to see if you are getting all of your channels. Contact your cable provider if you are not sure how many channels you are supposed to be getting.
Video of the Day