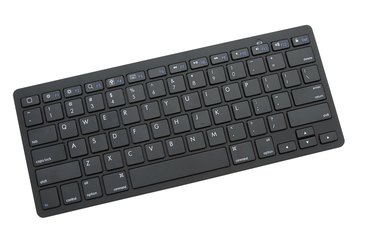
Changing your keyboard so that you can type in Arabic is a two-stage process in Windows 8.1. First, add Arabic to the list of languages available for use in Windows through the Region and Language configuration panel. Once it's installed, you can then make Arabic your active keyboard language.
Activate Arabic for Use in Windows
Video of the Day
Step 1
Swipe your mouse pointer to the bottom-right corner of your screen, click "Settings" and then "Change PC Settings" to open the PC Settings panel.
Video of the Day
Step 2
Select "Time and Language" and then select the "Region and language" tab to display a list of language customization options. Tabs are listed on the left of the Time and Language window.
Step 3
Click "Add a language," select "Arabic" from the list of available languages and then click the "Add" button to add it to the list of languages available for use in Windows. Click the "Options" link located next to Arabic and download the Arabic language pack, if prompted.
Switch to an Arabic Keyboard
Step 1
Swipe your mouse to the bottom-right corner of your screen and click "Settings | PC Settings | Time and Language | Region and Language."
Step 2
Click the "Options" link located at the end of the Arabic row, click "Add a keyboard" and select the input method you want to use.
Step 3
Activate your Arabic keyboard in one of two ways. Press the "Windows" key and then press the "Spacebar" to scroll through available languages until you locate Arabic. Alternatively, you can set Arabic as your active input language by clicking the language abbreviation located in the Notifications area on your Windows task bar. If your primary input language is currently English, for example, the abbreviation in the task bar will say "ENG." Click "ENG" and select Arabic on the list of available languages. You can now begin typing in Arabic.