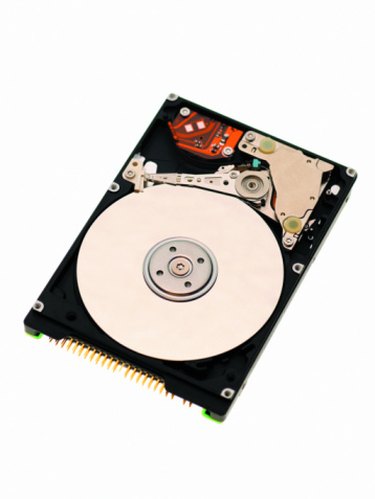
FreeNAS is a Unix operating system based on FreeBSD. It's designed to manage hard drives and provide them as network attached storage (NAS). The system is small and requires a small amount of memory since it's geared towards a single purpose. FreeNAS supports a variety of different file systems in the hard drives it manages, including UFS, UFS-EFI, UFS-GPT, FAT32, NTFS, gmirror, graid5 and gvlnum. The default file system used by FreeNAS is UFS, but it can add preformatted drives in any of the supported file systems.
Step 1
Click the "Disks" menu, then click the "Management" option.
Video of the Day
Step 2
Click the plus sign on the right side of the screen to add a disk.
Step 3
Click the "Disk" menu, then click the NTFS drive you want to add.
Step 4
Click the "Preformatted FS" menu and select NTFS.
Step 5
Click the "Add" button to add the NTFS drive to the storage available in FreeNAS.
Video of the Day