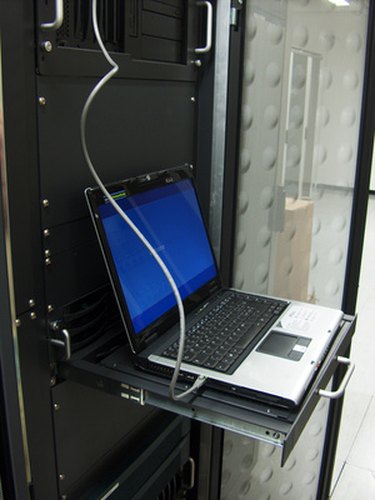
A server is a computer that handles requests for applications, data, email files and other network services from other computers called clients. The relationship between a personal computer and a server is often referred to as client-server. The benefit of having a server is that multiple computers can access the same network and resources via the server. Configure the network settings of a new computer to connect to a server.
Step 1
Configure the security settings of the router by defining the security protocols (WEP, WAP) as well as the IP addresses that will be used by the network. Access the graphical-user interface of your router to configure the network settings via the URL supplied in the router's user manual.
Video of the Day
Step 2
Connect an Ethernet cable to the WAN port of the router and the other end to the server. An indicator light on the router will illuminate to indicate the server is detected.
Step 3
Click "Start" from the system tray located at the bottom of the screen on the server. Click "My Computer" from the application and settings menu.
Step 4
Define which resources will be accessible by your new computer (client). Right click the hard drive and choose the "Sharing and Security" option. Check "Share this folder" from the network options so that your computer can access the content of the hard drive on the server.
Step 5
Click "Start" from the system tray located at the bottom of the screen (server). Click "Control Panel" from the application and settings menu. Click the "Performance and Maintenance" option. Click "System" and click the "Computer Name" tab. Enter a computer name to identify your network.
Step 6
Click "Network Connections" from the Control Panel window. Right click the "Local Area Connection" and click "Properties." Enter any IP address for your internal network. The address of a server typically ends in the number one and looks similar to 192.123.1.1.
Step 7
Connect an Ethernet cable to open WAN port of the router and the other end to your computer. An indicator light on the router will illuminate to indicate the server is detected.
Step 8
Click "Start" from the system tray located at the bottom of the screen (your computer). Click "Control Panel" from the application and settings menu. Click the "Performance and Maintenance" option. Click "System" and click the "Computer Name" tab. Enter the computer name that was applied to the server in Step 5.
Step 9
Restart the server, the router and your computer. A connection will be activated between your computer (the client) and your server.
Video of the Day