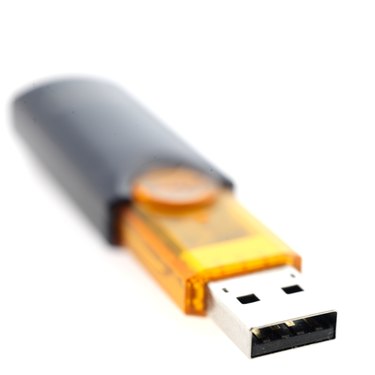
Most operating systems (Windows, Mac OS, Linux) include a bootable CD or DVD that your computer can boot from if the operating system goes bad. Many netbooks and ultraportable laptops, however, no longer include the optical drive necessary to use these discs. Fortunately, if your computer has no optical drive, you can still use a boot disc made from an inexpensive USB flash drive. You'll need to use a computer with an optical drive to set the USB drive up, but once it's bootable, you can use it on almost any newer computer.
Windows
Video of the Day
Step 1
Put the CD into your computer's optical drive and plug the flash drive into a USB port on your computer. Open the Command Prompt (found under "Accessories" in the Start menu).
Video of the Day
Step 2
Type "diskpart" at the command prompt and press the "Enter" key. Type "list disk" and press "Enter." Find and note the number next to your flash drive in the list that appears. If you're not sure which entry represents your flash drive, try looking at the disk capacity part of the list for a hint.
Step 3
Type "select disk 1", substituting the number by your flash drive for "1". Type the following commands one at a time and press "Enter" after each command: "clean", "create partition primary", "select partition 1", "active", "format fs=fat32", "assign" and "exit".
Step 4
Type "xcopy d:. /s/e/f g:", with the drive letter of your CD drive instead of "d" and the drive letter of your flash drive instead of "g". Press "Enter." When the files have copied, your flash drive is bootable.
Macintosh
Step 1
Insert the Mac OS disk and plug your USB flash drive into a USB port. Click "Utility" on the menu bar, then choose "Disk Utility."
Step 2
Click your flash drive's icon, then click "Partition" at the upper edge of the screen. Choose "1 Partition" from the menu labeled "Volume Select."
Step 3
Click on "Options." Choose "GUID Partition Table" if your Mac uses an Intel processor, then click "OK."
Step 4
Click "Erase" on the "Disk Utility" main screen. Select the appropriate option from the "Volume Format" menu (this option should match the operating system you'll be booting from the flash drive). Click "Erase" and let the computer finish formatting your flash drive.
Step 5
Click "Restore" (located at the top of the window). Drag the Mac OS disc icon to the "Source" area, then drag the flash drive's icon to the "Destination" area.
Linux
Step 1
Insert your Linux CD into your computer's CD drive and plug in your USB flash drive.
Step 2
Download an ISO builder. MagicISO is an excellent free option, though its functionality is relatively limited. For those who want more functionality, Nero is a good option, though it is not free. Install the program you have chosen and create an ISO (CD image) file from the disc in your computer's CD drive.
Step 3
Open your web browser and go to Pendrivelinux.com. Download the appropriate Pen Drive installer from the list on the main page (it should match the Linux build you want to put on your flash drive). Open the program and click the "..." button to find your ISO file. Click "OK," then "Next." Follow the on-screen prompts to complete the process. When the files finish copying, your flash drive is bootable.