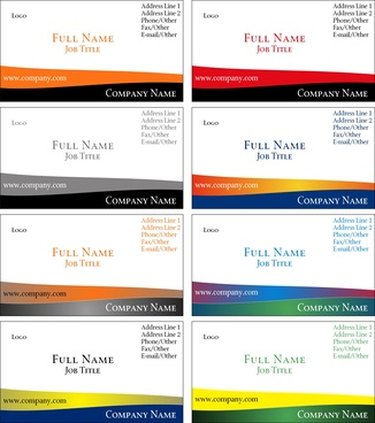
Similar to a business card, vCards are used to exchange your contact information with other users via email and the Internet. The virtual business cards, also known as VCF cards, are unique computer files that have the ".vcf" extension and are stored within your computer's email or contact collection program. VCF cards are easy to create using your current contact information and can also be sent to your smart phone including the BlackBerry and the iPhone.
Windows
Video of the Day
Step 1
Open Microsoft Outlook or similar contact/email program by clicking on the program's icon on the "Desktop" or the program's name on the "All Programs" menu.
Video of the Day
Step 2
Click "File," "New," "Contact." The New Contact dialog box will open.
Step 3
Enter your contact information into the dialog box--your full name, telephone numbers, email address, address, company name and job title.
Step 4
Click "File," "Save."
Step 5
Click "File," "Export to vCard file..." The VCARD File dialog box will open.
Step 6
Navigate to the directory where you want to save the VCF card to.
Step 7
Click "Save." Your VCF card is now created and saved to your computer.
Mac
Step 1
Open your Address Book by clicking on the program's icon on your Mac "Desktop" or by clicking on the program's name in the "Applications" folder of your Mac's hard drive.
Step 2
Click "File," "New Card."
Step 3
Enter your contact information into the "New Card" dialog box--your full name, telephone numbers, email address, address, company name and job title.
Step 4
Click the "Edit" button to preview your finished contact card.
Step 5
Click "File," "Save Changes."
Step 6
Click on your contact card.
Step 7
Click "File," "Export vCards." A Save dialog box will open.
Step 8
Navigate to the directory where you want to save the VCF card to.
Step 9
Click "Save." Your VCF card is now created and saved to your computer.