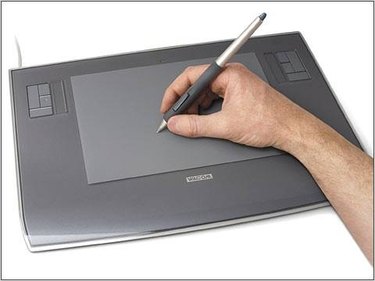
Tracing a photograph or drawing is one of the easiest ways to get artwork onto your computer. While a scanner can copy a picture directly to the computer, it can be time consuming and may alter the quality of the picture. Tracing allows you to leave sections of the picture out, and trace only the outline so you can add your own colors and textures. Learn how to use a Wacom tablet to trace pictures onto your computer.
Step 1
Plug your Wacom tablet into a USB port on your computer. Make sure your computer is turned on.
Video of the Day
Step 2
Open Adobe Photoshop, or the software of your choice. Wacom tablets will work with any program.
Step 3
Turn the Wacom tablet over. You should see four rectangles close to each corner. These little rectangles slide back when you push on them. Slide each one back to open the cover of the tablet. Turn the tablet back over and lift the clear cover off.
Step 4
Place the picture you want to trace onto the tablet. Adjust the image so the part of the picture you want to trace is in the middle of the tablet.
Step 5
Place the clear cover over both the picture and the tablet. Hold the cover in place and flip the tablet back over, or lift it above your head so you can see underneath it. Slide the rectangles back into place to secure the cover.
Step 6
Trace over the photo with the stylus that comes with the tablet. It will appear instantly within the photo-editing program.
Video of the Day