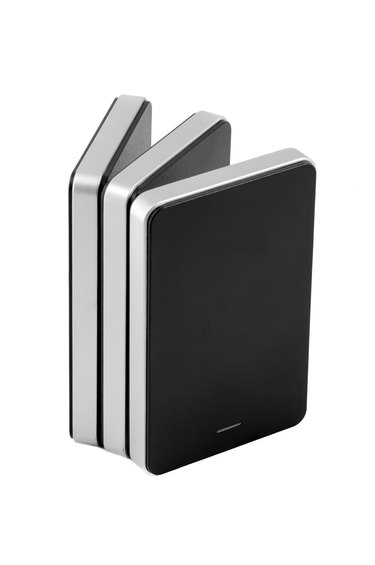
If you attempt to delete files from or reformat a hard drive, and you receive the notification that the disk is write-protected, you can execute a series of commands to remove the read-only attribute from the drive. Use the Diskpart command line utility to remove write protection from external and internal hard drives, as well as USB drives. The Diskpart utility is installed with all versions of the Windows operating system. However, if your computer is connected to an enterprise network, your account may not have the necessary permissions to run the utility. Consult with your system administrator for more information.
Step 1
Type the word "command" in the Charms bar Search box, then click the "Command Prompt" option to open a command prompt window.
Video of the Day
Step 2
Type "diskpart" at the prompt and press the "Enter" key. The Diskpart tool launches.
Step 3
Type the "list volume" command, without quotes, then press the "Enter" key. The volumes attached to the computer are listed.
Step 4
Type "select volume X" (omitting quotes and replacing "X" with the letter of the volume to modify) and then press "Enter."
Step 5
Type "attributes disk clear readonly" (again omitting quotes) and then press "Enter" to make the specified disk writable.
Step 6
Type "exit" to close the Diskpart utility.
Video of the Day