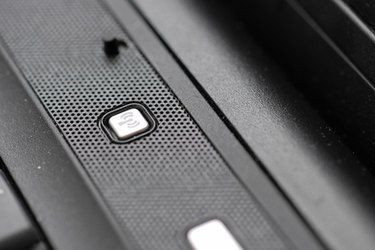
Computers are able to connect to wireless networks by accessing the wireless signal broadcast by the network's router. This enables the computer to connect to the network's resources such as other computers, printers and the Internet. To connect to a wireless network your computer will need to have a wireless radio installed. The wireless radio picks up the wireless broadcast and is able to transmit and receive data over the air.
Step 1
Click "Start," then "Control Panel" and select "System and Maintenance." Click "Device Manager" from the list and click the small arrow next to "Network adapters" to display the list of devices. Double-click the device in the list that contains the words "Wi-Fi adapter" or "802.11." A wireless radio will have these words in its name. The "Properties" window for the wireless radio will open. If the radio is installed and configured, it will state: "This device is working properly" in the Device Status box under the general tab.
Video of the Day
Step 2
Find the wireless button on your computer. The button usually has a "broadcasting" antenna icon it. On a laptop the button is located either on the side or on the front. In some brands the button is also the "F12 key." On a desktop the button is usually located on the front of the computer, and is clearly visible. If you cannot locate the button, check your user manual.
Step 3
Press the wireless button to turn it on. The indicator light next to the button or the light in the button will turn on. Depending on the manufacturer of your computer, the light may change color when it is connected to a wireless network.
Video of the Day