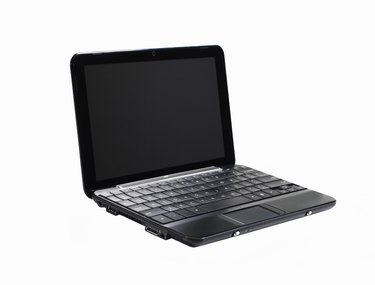
Installing the Mac OS X operating system on traditionally Windows-based computers has become a fairly easy process in the years since Apple made the switch to Intel-based systems. Hardware compatibility is often a setback, however. The legal ambiguity of creating a hackintosh (as they're called) has kept the process underground, with only a select group of daring individuals to take on the increasingly simple operation. Therefore, only select hardware has been tested, and it is best to stick to what has been determined to work. If you are running compatible hardware, then it's quite simple to run OS X on your Toshiba laptop.
Step 1
Make sure your Toshiba laptop is able to run OS X. Check out the OS x86 Project's system requirements page. If your computer fits the bill, you can proceed with the installation. If it does not, then you will either need to upgrade your hardware or attempt an install on a different system.
Video of the Day
Step 2
Copy the OS X Install DVD to your computer. You are going to need an Apple computer for the first few steps to properly format your USB drive to install OS X on a PC. Insert the OS X Install DVD into the Apple computer. Open Disk Utility (Applications > Utilities) and highlight the disc in Disc Utility's sidebar. Select "New Image" from the navigation toolbar. Enter "Mac OS X Install DVD.dmg" when prompted to enter a name and save the new image to the desktop.
Step 3
Insert the USB flash drive into the Apple computer when Step 2 is completed. Highlight the drive within Disk Utility's sidebar. Select the Partition tab and change the Volume Scheme to "1 Partition." Select "Options" and enable "GUID Partition Table." Select "OK" and "Apply" to format the drive.
Step 4
Highlight the USB flash drive within Disk Utility once again, after it has been formatted. Select the Restore tab this time. Drag the DMG image created in Step 2 to the Source field. Drag the USB flash drive from the sidebar to the Destination field. Select "Restore." A warning will inform you that the drive will be erased, this is OK. Allow the operation to continue—this copies the Mac OS X Install DVD to the flash drive.
Step 5
Download the EP45UD3P utility (see "Resources"). Double-click the .pkg file to run it. Point the utility at your flash drive when prompted. The application will run and handle a lot of the settings automatically that you would have had to manually enter via command line. The operation should take no longer than a minute or two; once completed, you no longer need the Apple computer.
Step 6
Change your laptop's BIOS settings. Press the delete key while the computer boots up to load the BIOS settings. Make the appropriate changes to the BIOS settings, following thebackpackr.com's image gallery (see "Resources") as reference.
Step 7
Insert the USB flash drive into the laptop and restart the computer. The computer will boot into the Mac OS X installation screen. Select your language. Before continuing any further, your computer's hard drive must be properly formatted. Select Disk Utility from the Utilities menu bar. Highlight the computer's hard drive (NOT the flash drive) and select the Partition tab. Set the Volume Scheme to "1 Partition" and set the Options to "GUID Partition Table." Set "Mac OS X Journaled" as the Format and select "Apply." Exit Disk Utility once the operation completes.
Step 8
Select "Install" on the Mac OS X installation screen. The USB installer will begin loading the operating system on to your laptop. Follow the on-screen prompts to personalize your installation. Your computer will restart once the installation is completed. Remove the USB drive, and the computer will boot into your fresh OS X install.
Video of the Day