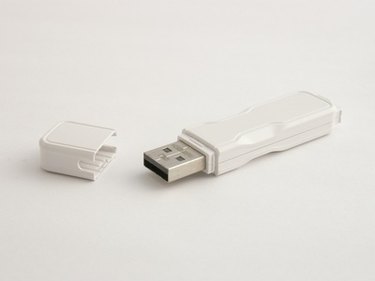
A bootable USB drive is a useful tool for any IT professional. It provides an additional installation media for malfunctioning computers or systems that aren't equipped with a DVD drive. A USB flash drive or key can also be loaded with diagnostic and repair utilities for the various systems you might encounter on a daily basis. Creating a bootable NTFS USB drive is not complex. The key is to use the Diskpart and Bootsect commands in combination.
Step 1
Open the "Start" menu and use the search field to launch the Diskpart utility. The Diskpart utility is a command line program used to partition physical disks.
Video of the Day
Step 2
Type "list disk" to show all the disks attached to the system. Make a note of the USB drive's disk number.
Step 3
Type "select disk 2" to select the USB drive. Replace "disk 2" with your actual USB drive number.
Step 4
Type "clean" to erase any existing partitions on the USB drive.
Step 5
Type "create primary partition" to use all the space on the drive. Use the "size=" parameter if you want to limit the size of the primary partition.
Step 6
Type "select partition 1" to select the primary partition.
Step 7
Type "active" to mark the new disk as active.
Step 8
Type "format fs=ntfs" to format the partition.
Step 9
Type "assign" to assign a drive letter to the USB drive.
Step 10
Type "exit" to leave the Diskpart Utility.
Step 11
Type "bootsect.exe /nt60 U:" to make the USB drive bootable. Replace "U:" with the drive letter Diskpart assigned to the USB drive.
Video of the Day